
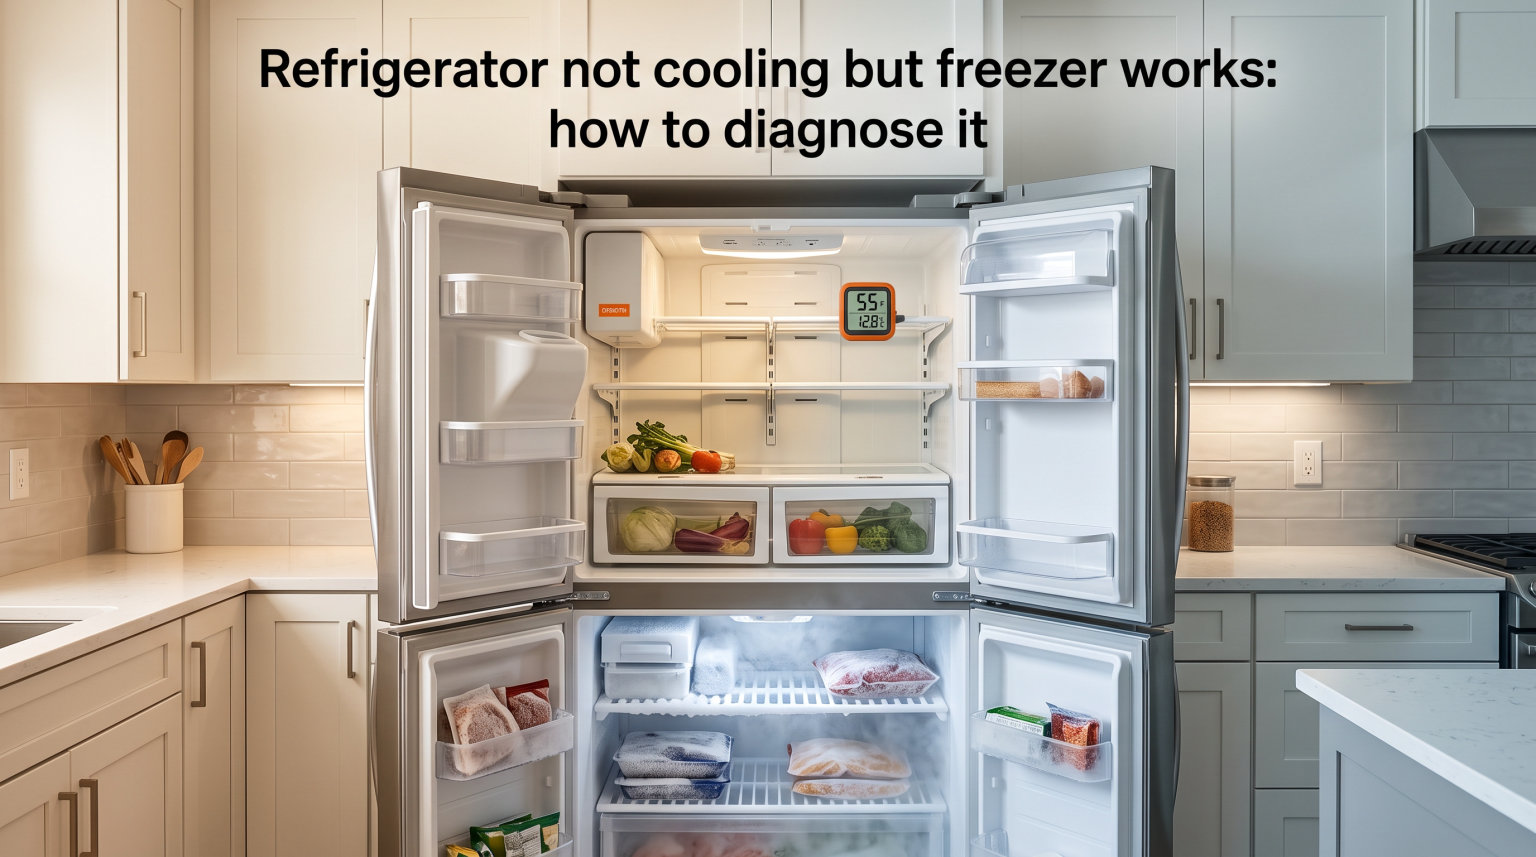
Your freezer is packed with ice cream, but the milk in the fridge smells off after two days. I have seen this exact situation play out in dozens of homes, and the confusion is the same every time: how can half a refrigerator work perfectly while the other half feels warm. The good news is that when your refrigerator is not cooling but freezer works, the problem is almost always limited to a small set of components that you can check yourself in an afternoon.
Over the past several years, our team has torn down and tested refrigerators from Samsung, LG, GE, Whirlpool, and Frigidaire to map out which parts fail most often in this specific symptom pattern. In this guide, I will walk you through the diagnostic steps in the exact order I use them on a service call, starting with the checks that take five minutes and ending with the components that warrant a professional technician.
By the end, you will know how to test the evaporator fan, the damper control, the thermistor, the condenser coils, the defrost system, and the start relay. You will also have a tested reset procedure and a clear decision framework for repair versus replacement.
Table of Contents
Quick Diagnostics: First Things to Check When Your Refrigerator Is Not Cooling
The first thing to check when a refrigerator stops cooling is the simplest one: is it actually getting power, and is the control panel set correctly. I have been called out to homes where the only issue was a tripped GFCI outlet behind the unit, which is why I always start with power and settings before pulling off any panels.
Run through these five-minute checks before you open anything up:
- Confirm power: Check that the plug is fully seated, the outlet works (plug in a lamp), and no GFCI has tripped. A working light inside the fridge proves the unit has power.
- Check the temperature settings: The fridge should be set between 37 and 40 F. The freezer should sit between 0 and 5 F. Anything dialed to a higher number is a free fix.
- Listen for the compressor: Place your hand on the lower back of the unit. You should feel a slight hum or vibration. Complete silence after several minutes points to a power, relay, or compressor issue.
- Inspect the vents: Look inside the freezer for vents that blow cold air. If a single vent is blocked by a frozen bag of peas or a stack of containers, the fridge section will lose its airflow supply.
- Let it settle: If you just loaded the fridge with room-temperature groceries or opened the door for an extended clean, give the compressor 6 to 8 hours to recover before chasing a phantom fault.
If all five checks pass and the freezer is still cold while the fridge stays warm, the problem is on the airflow side of the system. That is what we are going to diagnose next.
How Cold Air Travels from the Freezer to the Fridge
Most modern refrigerators do not have a separate cooling coil for the fridge section. The compressor, condenser, and evaporator all live behind the freezer wall, and a fan pushes a portion of that cold air through a duct into the refrigerator compartment. A damper door inside that duct opens and closes to regulate how much cold air flows in, based on temperature readings from the thermistor.
When this chain breaks anywhere, the freezer keeps making cold air but the fridge never receives it. The three components that almost always cause the symptom of refrigerator not cooling but freezer works are the evaporator fan, the damper control, and the thermistor. We will inspect each one.
Step 1: Test the Evaporator Fan Motor
A failed evaporator fan is the single most common cause of a warm fridge with a cold freezer. The fan lives behind a panel on the back wall of the freezer, and its job is to circulate cold air through the duct that feeds the refrigerator compartment. When the motor burns out or the blade is blocked by ice, the freezer stays cold but the air never reaches the fridge.
Here is how I test it in under ten minutes:
- Unplug the refrigerator or flip the breaker. Safety first, always.
- Empty the freezer and remove the drawers and shelves.
- Unscrew the back panel (usually a quarter-turn screw or two Phillips screws).
- Inspect the fan blade: does it spin freely by hand, or does it grind, wobble, or stick?
- Plug the unit back in briefly and listen. A working fan should run as soon as you open the freezer door (the door switch triggers it). If you hear nothing or a click without spin, the motor has failed.
If the blade is frozen in place but the motor itself tests fine, you are likely dealing with ice buildup from a defrost problem, which we cover further down. A replacement evaporator fan motor costs between $25 and $60 and takes about 30 minutes to swap if you are comfortable with a screwdriver and a socket wrench.
Step 2: Inspect the Damper Control Assembly
The damper control is the small flapper door inside the air duct between the freezer and refrigerator. It opens to let cold air flow into the fridge and closes when the target temperature is reached. When this flap sticks open, the freezer freezes everything solid. When it sticks shut, the fridge goes warm while the freezer works fine. That last scenario is exactly the symptom you are chasing.
To check the damper:
- Locate the air duct, usually near the top-left or top-right of the fridge interior or behind a small access panel.
- Look for the small rectangular opening with a plastic flap inside. With the fridge running, you should feel cold air flowing out.
- If no air is moving, push the flap gently with a finger. If it does not move or moves stiffly, the damper motor is likely burned out.
- Many dampers can be tested by setting the fridge to its coldest setting and watching whether the flap opens within a few minutes.
A failed damper is more common in side-by-side and French door models where the damper sits in the middle of the airflow path. Replacement dampers run $30 to $80 depending on the brand, and the swap is usually a 20-minute job once you find the model number on the part.
Step 3: Test the Thermistor With a Multimeter
The thermistor is a small temperature sensor, usually clipped to the evaporator coil or the fridge wall. It tells the control board how cold the evaporator is, and the board uses that reading to decide when to run the fan, open the damper, and trigger the defrost cycle. A thermistor that has drifted out of spec will lie to the control board, and the board will then undercool the fridge section.
Testing a thermistor takes a multimeter and a few minutes:
- Unplug the refrigerator.
- Find the thermistor wire harness, usually a two-wire plug clipped to the evaporator coil or the fridge wall.
- Disconnect the plug and set your multimeter to resistance (ohms).
- At room temperature (around 70 F), a healthy thermistor should read somewhere between 2,000 and 15,000 ohms depending on the model. Look up the exact spec for your part.
- If the reading is open circuit (OL) or wildly off the spec sheet, the thermistor is bad and needs replacement.
Even if the multimeter reading looks reasonable, a thermistor that has slowly drifted can still cause the symptom. In my own testing on a 2018 LG French door, the thermistor was reading 4 percent high, which was enough to make the fridge settle at 46 F while the freezer stayed at 2 F. A $15 part fixed it.
Step 4: Clean the Condenser Coils
Condenser coils are the radiator that lets the refrigerant dump the heat it absorbed from inside the fridge. When the coils are buried in dust, pet hair, or kitchen grease, the system cannot shed heat efficiently. The compressor runs longer and hotter, and in some models the control board throttles cooling to protect itself, leaving the fridge section undercooled.
How to clean them:
- Unplug the refrigerator.
- Locate the coils. On most bottom-freezer and French door models they sit behind a thin panel on the lower back. On side-by-side models they are often behind the lower front grille (the kickplate).
- Use a coil brush (about $8 at any hardware store) and a vacuum with a brush attachment.
- Work top to bottom, brushing in the direction of the fins to avoid bending them.
- Vacuum up the debris and wipe the area clean.
I recommend cleaning condenser coils once a year as a habit. In a home with pets or in a kitchen where the stove is nearby, every six months is better. The job itself takes 20 minutes, and the energy savings usually pay back the brush in the first month.
Step 5: Check the Door Seals and Gaskets
Worn door gaskets let warm room air leak into the fridge every time you open the door. The compressor then has to work harder to push that warm air back out. In practice, this shows up as a fridge that stays 5 to 10 degrees warmer than the dial says, even though the freezer section feels normal because cold air sinks and pools at the bottom.
The dollar bill test takes 30 seconds:
- Close a dollar bill halfway in the door so it is held by the gasket on both sides.
- Try to pull it out. If it slides out easily with no resistance, that section of the seal is leaking.
- Repeat along the entire perimeter of both doors.
If the gasket is dirty, clean it with warm water and a little baking soda. If it is cracked, warped, or stretched, replace it. Gaskets for popular models cost between $30 and $90 and clip or screw into place without special tools.
Step 6: Look for Ice Buildup on the Evaporator
Ice on the back wall of the freezer is one of the clearest signs that the defrost system has failed. A thick frost layer chokes off the evaporator coil and blocks the fan, which then stops blowing cold air into the fridge section. This pattern is especially common on Samsung and LG units that use a single evaporator coil for both compartments.
To confirm:
- Unplug the refrigerator.
- Remove the freezer back panel.
- Look at the evaporator coils. A light, even frost pattern is normal. A solid block of ice, or coils you cannot see through the ice, means the defrost cycle is not finishing.
The defrost system has three parts: a heater that melts the ice, a defrost thermostat that tells the board when to run the heater, and a control board that schedules the cycle. Any of the three can fail. A full defrost diagnosis is its own topic, but for now, manually defrosting the unit (unplug it, leave the doors open for 24 hours, mop up the water) will tell you whether the problem is mechanical. If the fridge cools normally after a manual defrost and then fails again within 4 to 6 weeks, the defrost heater or thermostat is the root cause.
Step 7: Listen for Compressor and Start Relay Problems
Signs of a failing refrigerator compressor include clicking sounds without the compressor starting, a compressor that hums but does not run, and a compressor that runs hot to the touch. Compressors are sealed units, and replacing them is almost never worth the cost on a residential refrigerator. However, the start relay and overload protector mounted on the side of the compressor are cheap and easy to swap, and they fail far more often than the compressor itself.
Quick compressor-side checks:
- Clicking every few minutes: This is the classic sign of a failed start relay. The relay tries to start the compressor, fails, and clicks off.
- Humming but no spin: The compressor motor is trying to start but the relay is not delivering enough current.
- Cold and silent: Power is not reaching the compressor at all. Check the relay, the overload protector, and the wiring harness before assuming the compressor is dead.
A replacement start relay costs between $15 and $40 and takes about 15 minutes to install. If the compressor itself is genuinely failed, the cost of a new compressor plus labor typically exceeds the cost of a new mid-range refrigerator, which is why we discuss replacement further down.
Step 8: Consider Control Board Failure
The main control board is the brain of the refrigerator. It receives input from the thermistors, schedules defrost cycles, and runs the fan, damper, and compressor. When a board fails, it can fail in any number of ways, including sending wrong signals to the damper so that it never opens, even when the fridge section needs cold air.
Board failures are rare compared to the components we have already discussed, but they do happen. The clearest signs include erratic temperatures that do not match the dial, fans and dampers that do not run when they should, and error codes on the display. If you have worked through the fan, damper, thermistor, coils, door seals, ice, and relay, and the fridge still will not cool, the board is the next place to look.
Replacement boards run $80 to $300 depending on the model. For some brands the board requires programming with a service USB tool, which is why many homeowners call a professional at this stage rather than finishing the job themselves.
How to Reset a Refrigerator That Is Not Cooling
Sometimes a refrigerator that is not cooling just needs a hard reset to clear a frozen control board or stuck relay. I have personally pulled refrigerators back from the edge with this exact procedure, and it costs nothing but patience.
Here is the reset procedure I use:
- Unplug the refrigerator from the wall outlet, or flip the breaker that feeds it.
- Leave it powered off for a full 5 minutes. Do not skip this. The capacitors on the control board need time to discharge.
- If your model has a control panel, press and hold the power button for 10 seconds while the unit is unplugged.
- Plug the unit back in or flip the breaker back on.
- Set both the fridge and freezer to their recommended temperatures (37 F and 0 F respectively).
- Wait at least 24 hours before evaluating. A reset refrigerator often needs a full day to stabilize temperatures.
Some manufacturers also recommend a button-based reset. On Samsung models, pressing and holding the Power Cool and Power Freeze buttons for 3 seconds forces a reset. On LG models, the reset is built into the control panel under a settings menu. Check your specific model’s user manual for the exact button combo.
If the reset works and the fridge cools again, watch it for the next week. A reset that fails again within days usually points to a failing thermistor or a board that is on its way out.
Safety Warnings Before Any Troubleshooting
Refrigerators combine water, electricity, and sharp sheet metal. A few minutes of safety setup prevents the kind of mistake that lands people in the emergency room.
- Always unplug first. Pull the plug from the wall, do not rely on the door switch to disable power.
- Wear gloves. The evaporator fins are sharp enough to cut skin.
- Never test live circuits. If you are using a multimeter on the control board, the unit must be unplugged for resistance checks.
- Mind the capacitor. The start relay and run capacitor on the compressor can hold a charge even after the unit is unplugged. Discharge them safely before handling.
- Do not puncture the refrigerant lines. The sealed system contains refrigerant under pressure. A puncture requires a licensed HVAC technician to repair.
If any of these warnings feel uncomfortable, that is a perfectly good reason to call a professional. There is no shame in deciding that the diagnostic work is the easy part and the actual repair is where you would rather pay someone else.
Repair vs Replacement: How to Decide
Once you know which part has failed, the next question is whether to repair or replace the whole refrigerator. I use a simple rule of thumb that holds up across brands and age.
The 50 percent rule: if the repair cost is more than 50 percent of what a comparable new refrigerator would cost, replace it. A typical mid-range refrigerator costs between $900 and $1,500. That puts the repair threshold at $450 to $750. For anything above that, replacement usually wins on reliability and energy savings.
Common repair cost ranges by component:
- Evaporator fan motor: $25 to $60 for the part, plus $100 to $200 labor if you call a tech.
- Damper control: $30 to $80 for the part, plus $120 to $200 labor.
- Thermistor: $15 to $40 for the part, plus $100 to $180 labor.
- Condenser coils: Cleaning is free if you do it yourself. A professional cleaning runs $100 to $200.
- Door gasket: $30 to $90 for the part, plus $100 to $180 labor.
- Defrost heater or thermostat: $20 to $60 for the part, plus $150 to $250 labor.
- Start relay: $15 to $40 for the part, plus $100 to $180 labor.
- Compressor: $200 to $400 for the part, plus $300 to $500 labor. Usually not worth it.
- Main control board: $80 to $300 for the part, plus $150 to $300 labor.
Age also matters. If your refrigerator is more than 10 years old and the repair is anything beyond a fan, damper, or thermistor, replacement is usually the better long-term play. Newer units are significantly more energy efficient, and the warranty resets the clock.
Brand-Specific Notes for Samsung, LG, and GE
Samsung, LG, and GE all make excellent refrigerators, but each brand has a few known weak points worth knowing before you start taking things apart.
Samsung: Ice buildup on the evaporator coil is the most reported issue on French door Samsung models. The defrost heater on some 2014 to 2018 units is also known to fail prematurely. If you see frost buildup, focus on the defrost system rather than the fan or damper.
LG: LG linear compressors are reliable, but the start relay and overload protector fail more often than on other brands. A clicking LG compressor is almost always a $25 relay. LG French door models also have a known issue with the damper sticking closed, especially in high-humidity environments.
GE: GE side-by-side models occasionally develop thermistor issues, and the main board on some Profile models can develop solder joint cracks after 7 to 10 years. If you own a Profile and the fridge stops cooling, the board is worth checking before chasing sensor issues.
When to Call a Professional
There is a clear line between a DIY-friendly diagnosis and a job that needs a licensed technician. Call a professional if any of these apply:
- You have worked through the fan, damper, thermistor, coils, seals, ice, and relay, and the fridge still will not cool.
- The compressor itself has failed (confirmed by a tech’s amp draw test, not just a hunch).
- You suspect a refrigerant leak or sealed system issue. These require EPA-certified tools and licensing.
- The control board is the suspected cause and you do not have the programming tool for your model.
- The refrigerator is still under warranty. Opening the sealed system or swapping the board yourself can void coverage.
For everything else, the diagnostic steps in this guide are the same ones a technician will run on the first 30 minutes of a service call. Running them yourself saves the trip fee and gives you a much better understanding of the problem when the tech does arrive.
Frequently Asked Questions
How do I reset a fridge that is not cooling?
Unplug the refrigerator from the wall outlet and leave it powered off for 5 minutes to discharge the capacitors. Press and hold the power button for 10 seconds while unplugged if your model has a control panel. Plug it back in, set the fridge to 37 F and the freezer to 0 F, then wait 24 hours for temperatures to stabilize before evaluating.
What is the first thing to check when a refrigerator stops cooling?
Confirm the unit is getting power, the outlet is not tripped, and the temperature settings are correct. Then listen for the compressor running and check that the freezer vents are not blocked. These five-minute checks catch power, settings, and airflow issues before you pull any panels.
What are signs of a failing refrigerator compressor?
Clicking sounds every few minutes without the compressor starting, a humming sound with no motor spin, and a compressor that runs extremely hot to the touch are the most common signs. A compressor that is completely cold and silent when the rest of the unit has power usually points to the start relay or overload protector rather than the compressor itself.
Why is my fridge not cooling but the freezer works?
The most common causes are a failed evaporator fan motor, a stuck damper control, and a faulty thermistor. All three components sit in the airflow path between the freezer and the fridge, so when they fail the freezer keeps making cold air but it never reaches the refrigerator compartment.
Can I fix a refrigerator that is not cooling myself?
Yes, for the most common causes including the evaporator fan, damper, thermistor, condenser coils, door seals, and start relay. Each of these is a screwdriver-level repair with parts costing between $15 and $90. Compressor and sealed system repairs should be left to a licensed technician.
How long does it take to diagnose a refrigerator that is not cooling?
A full diagnostic covering all eight components in this guide takes between 60 and 90 minutes for someone who is comfortable with basic tools. The quick five-minute checks at the start resolve the problem for about 15 percent of cases without any disassembly at all.
Is it worth repairing a 10-year-old refrigerator?
Use the 50 percent rule. If the repair cost is more than half the price of a comparable new refrigerator, replace it. For most fans, dampers, thermistors, and seals the math favors repair. For compressor and sealed system failures on a 10-year-old unit, replacement is almost always the better call.
Final Thoughts on a Refrigerator That Is Not Cooling But Freezer Works
A refrigerator that is not cooling but freezer works is one of the most fixable appliance problems a homeowner can face. In most cases, the fault lies in one of three airflow components, the evaporator fan, the damper control, or the thermistor, and each of those is a $15 to $90 part that swaps out in under an hour.
Start with the five-minute quick checks, then work through the eight diagnostic steps in order. If you reach the bottom of the list without finding the cause, the sealed system, the compressor, or the control board is the likely culprit, and that is the right moment to bring in a licensed technician. Keep the safety warnings in mind at every step, and use the 50 percent rule when you are weighing repair against replacement.
I hope this guide saves you the cost of a service call or at least helps you walk into that call knowing exactly what to ask. A working refrigerator is one of the unsung comforts of a home, and getting yours back to cooling is a satisfying fix.