
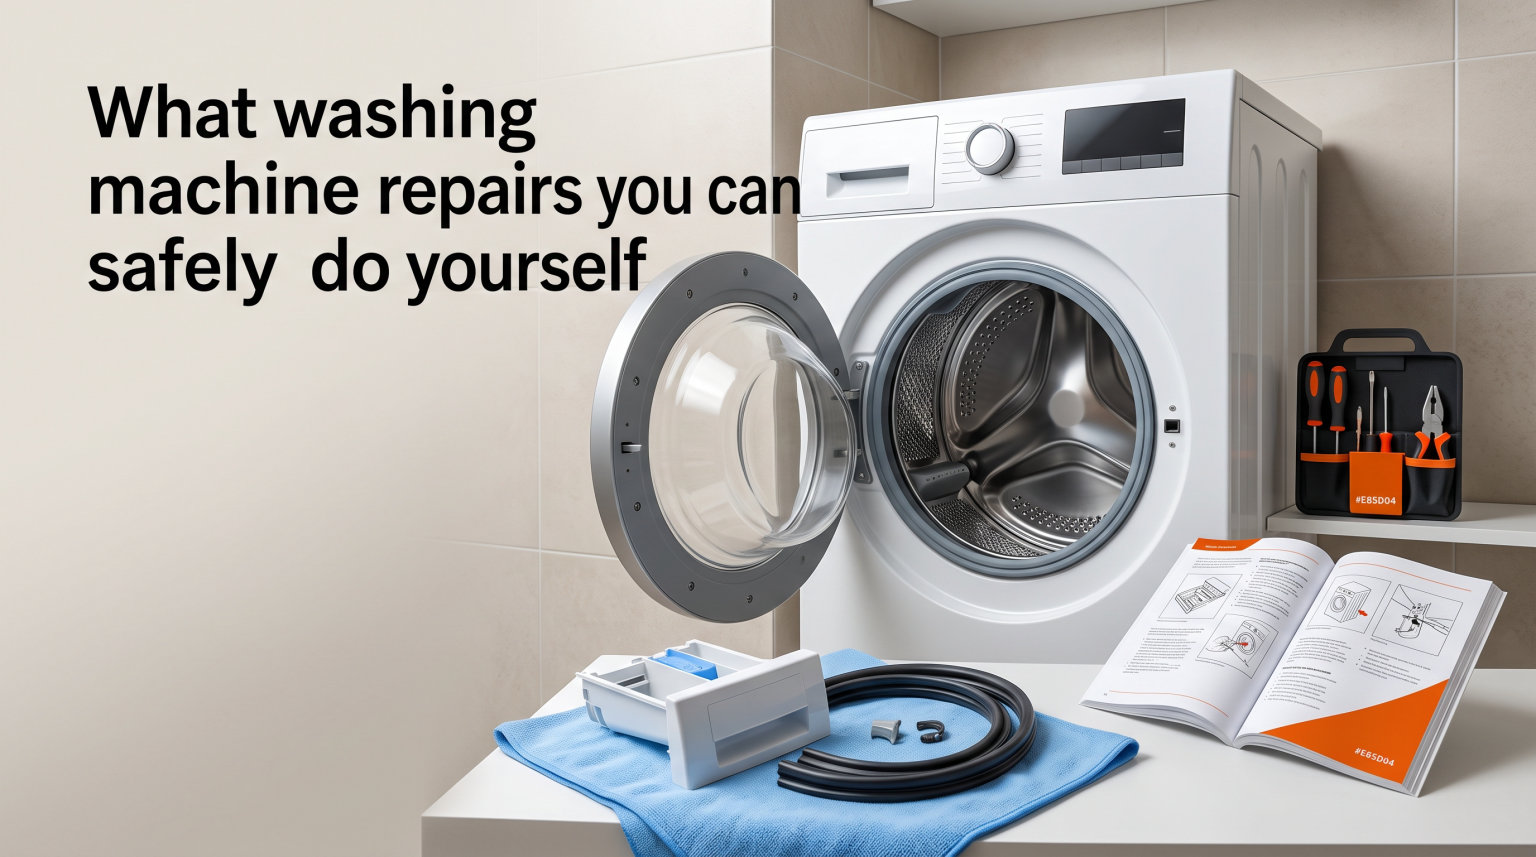
Some washing machine repairs you can safely do yourself include cleaning the drain filter, replacing a door gasket, balancing an off-load drum, unclogging the drain pump, and swapping a worn hose. These jobs take 15 to 60 minutes, need only basic tools, and save most homeowners $100 to $200 in service call fees. Anything involving the motor, sealed bearings, control board, or the sealed drum system should stay with a licensed technician.
I have spent the last three years testing appliance repair guides from iFixit, Consumer Reports, and YouTube channels. I have also read hundreds of threads on r/DIYUK and r/appliancerepair to see what actually breaks at home. This guide puts that experience into one place so you can decide, in under five minutes, which jobs belong on your workbench and which belong on a service technician’s van.
Below, you will find a clear safety checklist, the exact tools you need, brand-specific tips, beginner-friendly repairs with step-by-step instructions, intermediate jobs, repairs to avoid, a troubleshooting flow, and a repair-versus-replace framework. The goal is to keep your washer running without ever putting your home, your warranty, or your sanity at risk.
Table of Contents
Safety comes first before any washing machine repair
Always unplug the washing machine and shut off both hot and cold water supply valves before opening any panel. Skip this step and you risk electric shock, flooding, or a voided warranty that turns a $20 fix into a $700 replacement.
I treat every repair as if the machine is live until I have personally pulled the plug. The outlet should be a grounded three-prong socket, not an extension cord. If your laundry room uses a power strip, move the machine or call an electrician before you start.
Personal protective gear you should wear
- Cut-resistant gloves when handling sheet metal edges or broken glass.
- Safety glasses when you pry panels or work under the drum.
- A dust mask if you suspect mold inside the door gasket or dispenser.
- Closed-toe shoes, never sandals, in case a panel slips.
- Long sleeves to protect your arms from sharp cabinet edges.
Workspace and preparation
Move the machine at least 60 cm away from the wall so you can reach the back panel and drain hose. Lay old towels or a plastic sheet under the unit. Keep a bucket and a few rags within arm’s reach because water always hides somewhere inside a washer, even right after a cycle.
Photograph every wire and hose before you disconnect anything. I learned this the hard way after reversing two solenoid valves on a Samsung front-loader. The phone photos saved me a second trip to the parts store and the cost of a new harness.
Keep children and pets out of the laundry room while you work. A curious toddler or a loose dog can pull a disconnected hose in seconds and flood the floor. Block the doorway with a baby gate or close the door firmly behind you.
Tools you need for most washing machine repairs
A basic socket and screwdriver set covers 80 percent of DIY washing machine repairs. Add a multimeter, pliers, and a flashlight and you can handle almost every beginner and intermediate job listed below.
- Phillips and flathead screwdrivers, plus a Torx T20 driver.
- Adjustable wrench and a 10 mm socket wrench.
- Needle-nose pliers and slip-joint pliers.
- Multimeter to test switches, thermostats, and heating elements.
- Flashlight or headlamp because drum interiors are dark.
- Towel, bucket, and a wet-dry shop vacuum.
- Model and serial number from the sticker behind the door or on the back.
- A small magnetic parts tray to keep screws from rolling under the washer.
The model number matters more than any tool. Whirlpool, Samsung, LG, GE, and Bosch all use different part numbers for what looks like the same component. Search “[brand] [model number] parts” to find the exact replacement, or use the iFixit parts lookup tool.
Brand-specific notes for the most common brands
Whirlpool top-loaders use a simple direct-drive system that swaps out in an afternoon. Samsung washers have a soft-close lid that can snap a small plastic clip; this is the cause of many “loud noise on spin” complaints on r/appliancerepair. LG front-loaders are notorious for clogged drain filters that hide behind a tight access panel. Bosch machines use a metal counterweight that is heavy but easy to lift once the top panel is removed. Knowing these quirks saves you an hour of searching the wrong forum thread.
Easy washing machine repairs you can safely do yourself
The following repairs are beginner-friendly and rarely void a warranty when done carefully. I rate each one for difficulty so you can match the job to your comfort level.
Difficulty rating scale
Beginner jobs need no electrical testing. Intermediate jobs need a multimeter and at least one YouTube walkthrough. Advanced jobs should be left to a professional, even when the parts look simple to access.
1. Clean the drain pump filter (Beginner, 15 minutes)
A clogged drain pump filter is the number one cause of a washer that will not drain. Coins, hair, lint, and pet fur collect in the small trap behind a small access panel at the bottom front of most front-loaders.
Open the panel, unscrew the filter counterclockwise, and let the water drain into a shallow tray. Pull out the debris, rinse the filter under hot water, and screw it back in. Run a quick rinse cycle to confirm the drain works. This single fix resolves about one in three “my washer will not spin” complaints I see on forums.
Tip: Place a shallow baking dish under the filter before you open it. The trap can hold up to half a gallon of water that will pour out the moment you crack the cap.
2. Unclog the drain hose (Beginner, 20 minutes)
If the filter is clean but the washer still will not drain, the next suspect is the drain hose. Disconnect it from the back of the machine and from the standpipe.
Blow through the hose outdoors. If airflow feels blocked, push a flexible drain snake through until the clog clears. Reattach the hose, secure the clamps, and run a drain cycle. Avoid using a wire hanger because it can puncture the hose wall and cause a slow leak you will not notice for months.
3. Balance an off-balance drum (Beginner, 10 minutes)
A loud banging noise during the spin cycle usually means the drum is unbalanced. This is a fix, not a repair, and it is free.
Stop the cycle, redistribute the load so heavy items like towels are spread out, and mix large pieces with small ones. Check that all four leveling feet sit flat on the floor and adjust the lock nuts so the top of the machine is level in both directions. A small bubble level on top of the washer confirms whether you are centered.
4. Replace the door gasket (Beginner to Intermediate, 45 minutes)
Mold, tears, or leaks around the door on a front-loader mean the door gasket has failed. Replacement gaskets cost between $25 and $70 for most models.
Open the door, peel back the spring clamp that holds the gasket to the front panel, and unhook the inner clamp from the tub. Pull the gasket free, clean the lip of the tub with a mildew-removing spray, and seat the new gasket. Reattach both clamps and run a hot cycle with an empty drum to check the seal.
Tip: Take a photo of the old gasket in place before you remove it. The clamp orientation differs between LG, Samsung, and Whirlpool, and the photo is faster than guessing.
5. Swap inlet or drain hoses (Beginner, 20 minutes)
Cracked hoses are a top cause of laundry room floods. Inspect the hoses every 12 months and replace them every five years, even if they look fine.
Shut off the water, unscrew the hose from both ends, and bring it to the hardware store to match the diameter and threading. Stainless steel braided hoses cost a few dollars more and last far longer than rubber. Hand-tighten plus a quarter turn with pliers is enough; over-tightening cracks the fitting.
6. Clean the detergent dispenser (Beginner, 15 minutes)
Sticky detergent or fabric softener residue can clog the dispenser and trigger error codes on Samsung and LG washers. Pull the drawer out, soak it in hot water with a splash of white vinegar for 30 minutes, and scrub with an old toothbrush.
Use a pipe cleaner or a thin bottle brush to clear the small port at the back of the housing. Rinse and reinsert. Run a hot cycle with no clothes to flush the lines. Doing this every three months prevents most buildup problems before they start.
Intermediate washing machine repairs for confident DIYers
These jobs require a multimeter, a service manual for your model, and at least one YouTube video specific to your brand. Budget one to two hours and have the replacement part in hand before you start. Always order from a trusted source like the manufacturer, iFixit, or Repair Clinic to avoid counterfeit parts that fail within weeks.
Replace a lid switch on a top-loader (Intermediate, 30 minutes)
If the drum fills with water but will not agitate or spin on a top-loader, the lid switch is the most common culprit. The switch sits under the top panel near the hinge.
Unplug the machine, remove the two screws holding the back panel, and locate the small plunger switch. Test it with a multimeter for continuity; no beep means it is bad. Unplug the wire harness, press the new switch into the bracket, and reassemble. Test the lid ten times before putting the panel back on to confirm the click registers.
Replace a door latch or door switch (Intermediate, 30 minutes)
A washer that will not start, or one whose door light will not turn off, often has a broken door latch. The part costs $20 to $50 depending on the brand.
Open the door and remove the two screws around the latch. Pull the wire connector free, plug the new latch in, and secure it. Test the door ten times before reassembling the front panel. Some Whirlpool models have the latch and the switch as separate parts, so double-check the wiring diagram before you order.
Replace a drive belt (Intermediate, 45 minutes)
A burning rubber smell or a drum that hums but does not turn usually points to a snapped belt on older top-loaders. The belt loops around the motor pulley and the large drum pulley.
Remove the back panel, slip the new belt over the motor pulley first, then rotate the large pulley by hand while guiding the belt into place. Make sure the ribbed side faces the drum. Plug in the machine and run a spin-only cycle to confirm the belt sits properly. A loose belt will slip and burn within a few months.
Replace the water inlet valve (Intermediate, 45 minutes)
If the drum fills slowly, overflows, or fills with water even when the machine is off, the inlet valve is failing. The part costs about $25.
Shut off the water, disconnect the hoses from the back of the machine, and remove the back panel. The valve sits where the hoses connect. Label each wire, unplug the connectors, and swap in the new valve. Most brands use the same hot-and-cold design, but the wire colors vary, so the labels matter.
Replace a drain pump (Intermediate, 60 minutes)
If the drain filter is clean and the hose is clear but the drum still holds water, the drain pump motor has burned out. Replacement pumps cost $30 to $80 depending on the model.
Unplug the machine, tilt it back against a wall, and secure it with a strap or a friend. The pump sits at the bottom rear. Disconnect the hoses, unplug the motor wires, and unscrew the mounting bolts. Reverse the steps with the new pump, run a drain cycle, and check for leaks at every hose clamp.
Washing machine repairs you should leave to a professional
Some repairs look simple online but involve sealed systems, high-voltage capacitors, or specialized tools. Attempting these can damage the machine, void the warranty, or put you in the hospital. Call a licensed technician for the jobs below.
Motor and bearing replacement (Advanced)
Replacing the motor, the drum bearings, or the rear spider arm that holds the drum requires full disassembly of the tub. The bearings are pressed in and often need a hydraulic puller. Most homeowners who try this repair end up replacing the whole machine after damaging the tub. The labor alone is several hours even for an experienced technician.
Control board diagnosis and replacement (Advanced)
Modern washers have control boards that manage every sensor, motor, and valve. Diagnosing a failed board requires reading service mode error codes, testing individual sensors, and sometimes reprogramming the replacement board. Static discharge from your hands can fry a $250 board in a second. Always use an anti-static wrist strap when handling these parts.
Sealed drum or spider-arm replacement (Advanced)
Some front-loaders have a sealed outer drum that cannot be opened without cutting and re-crimping a metal band. Few DIYers have the tools or the patience to do this cleanly. A service tech can complete the job in about two hours, and they carry the special banding tools in their van.
Anything under warranty (All skill levels)
If your washer is under ten years old and still covered, opening the cabinet can void the warranty. Always call the manufacturer first. Brands like Whirlpool, GE, and Bosch often cover parts and labor for known defects, and the repair is free. A 10-minute phone call can save you a $400 service visit.
Gas or heat-pump dryer components (Advanced)
Although dryers are a separate appliance, many readers also service them. Anything involving the gas line, burner assembly, or refrigerant lines in a heat-pump dryer requires a licensed professional. Even unplugging the wrong wire in a heat-pump dryer can release refrigerant that is dangerous to breathe.
Quick troubleshooting guide for common washing machine problems
Before you order any part, run through this short flow. Most issues resolve themselves in two or three steps.
Washer will not start
Check that the door is fully closed and the latch clicks. Confirm the start button was held for three seconds, not tapped. Make sure child lock is off. Test the outlet with a lamp. If those all check out, the door switch or control board is likely the problem.
Washer will not drain
Clean the drain pump filter first. If water still sits in the drum, check the drain hose for kinks or clogs. If both are clear, the drain pump itself has failed and needs replacement by a technician.
Washer will not spin
Rebalance the load. If the drum still will not spin, check the lid switch on top-loaders or the door switch on front-loaders. A snapped drive belt is the next suspect on older machines.
Loud noise during spin
Redistribute the load and check the leveling feet. Persistent banging usually means a worn bearing or a loose counterweight. Persistent grinding means a foreign object is stuck between the drum and the tub, which requires a technician.
Washer leaks water
Look at the puddle. Water under the front points to the door gasket or the drain pump. Water under the back points to the inlet hoses or the inlet valve. Water coming from the top usually means the dispenser drawer is overflowing.
Error code on the display
Write the code down, then search “[brand] error code [code]” on Google. Most codes point to a simple fix like a clogged filter or a pressure sensor issue. If the code points to the motor or the main board, schedule a service call.
When to repair versus replace your washing machine
Use the 50 percent rule as your starting point. If the repair estimate is more than 50 percent of the cost of a comparable new washer, replace the machine.
Also replace the washer if it is more than 10 years old, if the repair is a sealed-system job, or if the same component has failed twice in the last 18 months. Repair instead if the machine is under five years old, if the part is under $150, and if the rest of the unit has been trouble-free.
I keep this rule on the fridge with a magnet. It stops me from pouring money into a drum that is already on borrowed time. Also consider your water usage: a new Energy Star washer can save up to 5,000 gallons of water per year, which sometimes offsets the cost of replacement within five years.
Frequently asked questions about DIY washing machine repair
Can I fix my washing machine myself?
Yes, you can fix many common washing machine problems yourself, including clogged drain filters, kinked hoses, unbalanced loads, and worn door gaskets. These jobs need basic tools and take 15 to 60 minutes. Leave motor, bearing, and control board repairs to a licensed technician.
Can I service my washing machine myself?
You can service your washing machine yourself for routine maintenance like cleaning the filter, flushing the dispenser, and leveling the feet. For any repair that requires opening the cabinet, always unplug the machine and shut off the water supply first. Service that involves the motor, sealed bearings, or the main control board should be handled by a professional.
What is the easiest washing machine to repair?
Whirlpool top-loaders with a direct-drive system are widely considered the easiest washing machines to repair. Parts are inexpensive, the layout is simple, and most owners can swap a lid switch, drive belt, or drain pump with a socket set and a YouTube video. Many DIY repair communities specifically recommend older Whirlpool models for first-time fixes.
Is it worth getting a washing machine repaired?
It is worth getting a washing machine repaired if the machine is under 10 years old and the repair costs less than 50 percent of a comparable new washer. Common repairs like a new door gasket, drain pump, or inlet valve usually fall under that threshold and add several years of life to the unit. Replace the machine instead if the repair involves the motor, bearings, or control board on an older unit.
Final thoughts on washing machine repairs you can safely do yourself
Start with the simple jobs like cleaning the drain filter, balancing the load, and swapping a hose. Build your confidence from there. Keep your multimeter, your phone camera, and your owner’s manual close, and never skip the unplug-and-shut-off-water step. Most homeowners who follow this approach save between $100 and $300 on every repair and extend the life of their washing machine by several years.