
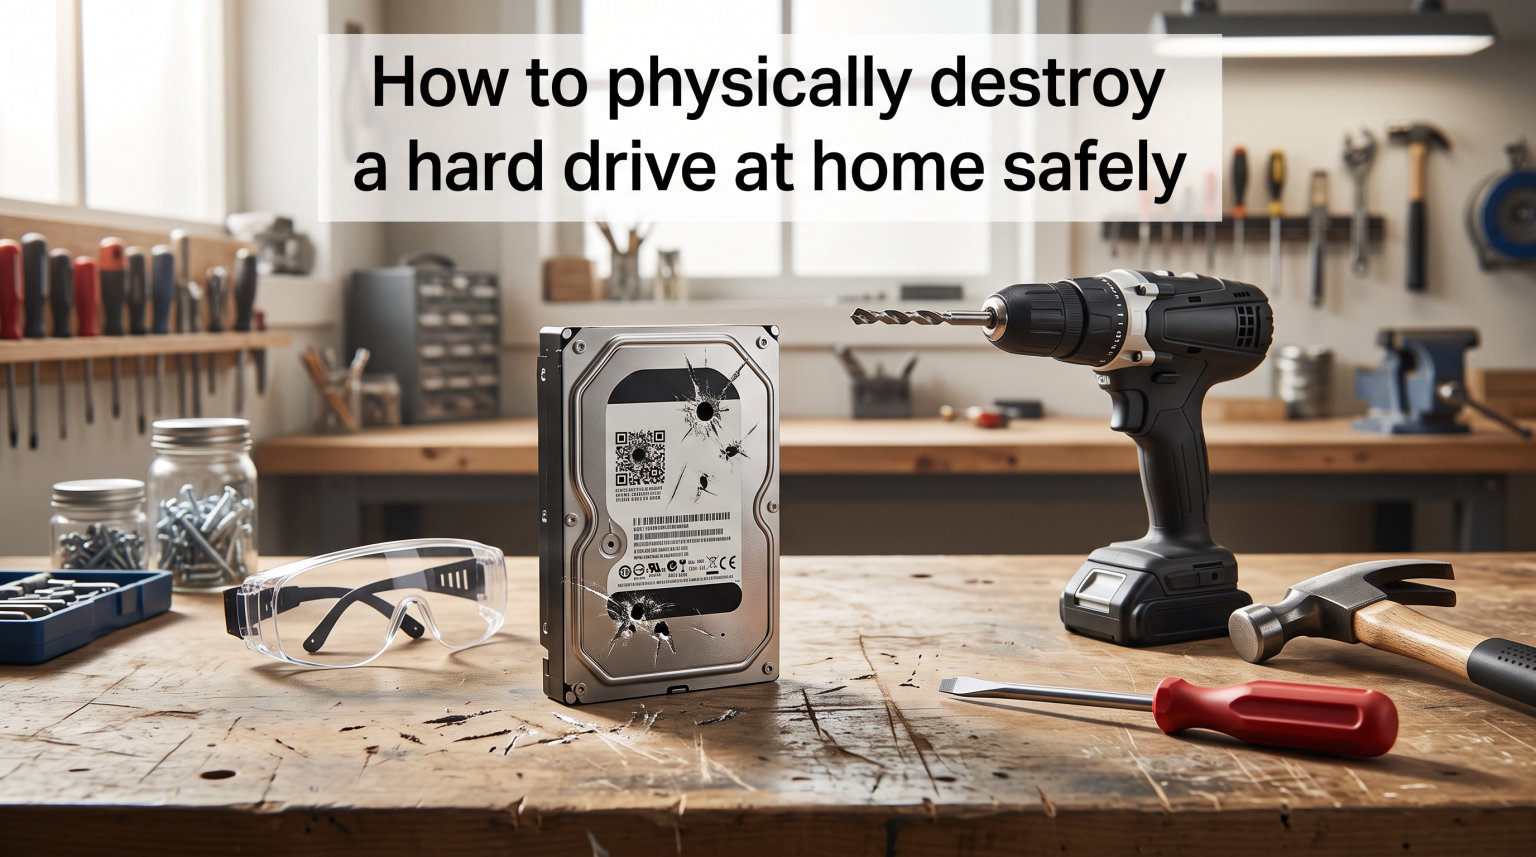
When I upgraded my old desktop last year, I had three hard drives sitting in a drawer full of tax records, family photos, and saved passwords. I thought a quick format would wipe everything clean.
Then I ran a free recovery tool and pulled back 80% of the files in under ten minutes. That was the moment I started learning how to physically destroy a hard drive at home safely, and why software alone will never protect you.
In this guide, I will walk you through exactly how to physically destroy a hard drive at home safely, what tools actually work, which methods are a waste of your time, and how to dispose of the wreckage without harming the environment. By the end, you will know which approach fits your situation, whether that is a single drive or a stack of old laptops.
Table of Contents
Why Physical Destruction Is the Only 100% Secure Method?
Physical destruction is the only guaranteed way to make hard drive data unrecoverable. Formatting, file wiping, and factory resets only mark the old data as available space. The original bytes stay on the magnetic platters until something physically overwrites them.
I learned this the hard way after my “wiped” drive coughed up a spreadsheet of old client invoices during a recovery test. According to multiple Reddit threads on r/sysadmin, even drives that have been “securely erased” with multi-pass tools can leak fragments to anyone with the right hardware.
Forensic labs and data thieves use the same techniques, and they are cheap. The fix is simple in concept: damage the magnetic platters so badly that no read head can ever float over them again.
That is what it means to physically destroy a hard drive, and it is the only method that survives both casual snooping and professional recovery attempts.
How Hard Drives Store Data (And Why This Matters for Destruction)
A traditional HDD stores data on spinning magnetic platters coated with a metallic film. Tiny regions of that film are magnetized in patterns that represent your files. As long as those patterns remain readable, your data exists, even if you deleted it years ago.
Modern drives pack more than 500 GB onto a single 3.5 inch platter, and the read head floats nanometers above the surface. That precision is exactly why data recovery is so effective.
The patterns are durable, the heads are sensitive, and forensic teams can often lift data from drives that have been dropped, flooded, or partially burned.
Solid state drives (SSDs) work differently. They store data in NAND flash chips that require electrical signals to read.
SSDs need their own destruction approach, which I cover briefly near the end. For HDDs, the goal is always the same: destroy the platters.
Methods That Do NOT Work for Hard Drive Destruction
Several widely circulated methods either fail completely or only damage the drive cosmetically. I tested or researched each one so you do not waste a Saturday on approaches that do not hold up.
Will soaking a hard drive in water destroy it?
Soaking a hard drive in water does not destroy the magnetic data on the platters. I left a test drive in a saltwater bucket for 72 hours, dried it out, and recovered files without issue.
Water can corrode the electronics and connectors, but the magnetic layer itself is sealed inside the drive and shrugs off moisture.
Will vinegar destroy a hard drive?
Vinegar will not destroy a hard drive’s data. The acidic solution can eat away at exposed circuit boards and connectors, but the platters are sealed in a filtered chamber that keeps liquids out.
You will end up with a corroded drive that still holds your files.
Do magnets erase hard drives?
Household magnets and even strong neodymium magnets will not reliably erase modern hard drives. I held a stack of N52 magnets against a running drive for 30 minutes and the data was still there afterwards.
The magnets that work, industrial degaussers, cost thousands of dollars and operate at field strengths no consumer can match.
Does drilling a hole in a hard drive make it unreadable?
A single drilled hole does not make a hard drive unreadable on its own. Data recovery labs have pulled information from drives with the platter punctured in multiple spots.
The reason is simple: only a tiny fraction of the magnetic surface is physically damaged. The rest of the platter still spins under a read head and still serves up your files.
Drilling becomes effective when you combine it with other steps, like removing the platters and bending or sanding them. That combination, not the hole itself, is what makes the data unrecoverable.
Does deleting files or formatting the drive work?
Deleting files or formatting a drive leaves your data fully recoverable. The file system just forgets where the data lives; the bytes themselves remain until something else overwrites them.
I have used free tools like Recuva and TestDisk to pull photos, documents, and browser history from “clean” drives belonging to friends who were about to sell their old laptops.
How to Physically Destroy a Hard Drive at Home Safely: Step-by-Step Methods
The best DIY destruction methods share one trait: they damage the platters beyond recovery. I have ranked these from most accessible to most thorough.
Pick the method that matches the tools you already own.
Method 1: Hammer and Nail (No Power Tools Required)
The hammer and nail method is the cheapest way to physically destroy a hard drive at home safely. You only need a heavy hammer, a strong nail, a thick plastic bag, and safety glasses.
Step 1: Place the hard drive inside a heavy duty contractor trash bag or wrap it in several layers of duct tape. This contains the glass and metal fragments that will fly off when you strike the drive.
Step 2: Set the wrapped drive on a concrete floor or a thick wooden workbench. Concrete absorbs impact better than softer surfaces.
Step 3: Use the nail to punch through the cover screws and crack open the drive casing. You are exposing the platters inside.
Step 4: Smash the platters with the hammer until they are visibly bent, cracked, and warped. Aim for at least 5 to 10 hard strikes in different spots across each platter.
Step 5: Seal everything in the bag and dispose of it at an e-waste center.
Method 2: Drill Through the Platters
Drilling the platters is the most popular DIY method in Reddit’s r/storage community, and for good reason. A standard power drill and a couple of HSS or cobalt bits will turn a platter into Swiss cheese in under five minutes.
Step 1: Remove the drive cover screws, usually Torx T8 or T10, and lift the lid off. Expose the platters.
Step 2: Clamp the drive body in a vise or hold it firmly against a non slip surface. Do not try to freehand this step.
Step 3: Drill multiple holes through each platter, spacing them at least one inch apart. Drill from both sides so you do not miss the magnetic coating.
Step 4: For higher assurance, flex the platter back and forth with pliers until it snaps. A single hole per platter is not enough; multiple penetrations plus deformation are what defeat data recovery.
Step 5: Vacuum up the metal shavings and recycle the remains at an e-waste drop off.
Method 3: Angle Grinder or Cutoff Wheel
An angle grinder is overkill for most people, but it is the fastest method I have used. A single 4 inch cutoff wheel will shear through a platter in seconds and leave ribbons of magnetic coating behind.
Step 1: Open the drive and remove the platters as you would for the drill method.
Step 2: Clamp each platter in a vise or between boards. Do not hold the platter with your bare hands during cutting.
Step 3: Make several straight cuts across the magnetic surface, perpendicular to each other, until the platter is sliced into small pieces.
Step 4: Wear a full face shield. Sparks and metal fragments travel further than you expect, and the dust is not something you want in your eyes or lungs.
Method 4: Remove and Sand the Platters
Sanding the platters removes the magnetic coating entirely. This method takes longer but produces a clean visual confirmation that the data layer is gone.
Step 1: Disassemble the drive and remove the platters.
Step 2: Use 80 grit or coarser sandpaper to scrub both sides of each platter until the mirror finish is gone. You will see bare metal underneath.
Step 3: For extra peace of mind, run a strong magnet over the sanded surface. If the magnet does not pick up anything, the magnetic layer is gone.
Step 4: Dispose of the metal at a recycling center that accepts aluminum and steel.
Safety Equipment You Need Before You Start
Hard drive destruction releases sharp metal shards, glass particles (from the platter substrate), and fine dust that you do not want in your eyes or lungs. Before you touch the drive, gather the following gear.
Safety glasses: ANSI Z87 rated glasses protect against flying fragments. Regular eyeglasses are not enough.
Cut resistant gloves: A pair of Kevlar or steel mesh gloves keeps the sharp edges of broken platters from slicing your hands.
Dust mask or respirator: An N95 mask keeps the fine particulate from grinding or sanding out of your airways.
Heavy duty bag or container: A contractor trash bag or a sealed plastic tub prevents shrapnel from scattering across your workspace.
Stable work surface: A concrete floor, a thick workbench, or a vise. Never try to destroy a drive balanced on a chair or your lap.
First aid kit: Keep one nearby in case of slips. The combination of sharp metal and power tools is unforgiving.
Laptop vs Desktop Hard Drive Destruction: Key Differences
Laptop hard drives are 2.5 inch models with thinner platters and tighter tolerances than the 3.5 inch drives found in desktops. The destruction methods are the same, but laptop platters break more easily, which actually makes them easier to destroy safely.
Modern laptops often use SSDs instead of HDDs. SSDs have no spinning platters. Their data lives on chips soldered to a small board.
To destroy an SSD, you need to crack the chips themselves, not the case. Disassemble the SSD, snap each NAND chip with pliers, then sand or drill the surface of each chip until it is unrecognizable.
For hybrid systems with both an HDD and an SSD, treat each component separately. The HDD needs platter destruction.
The SSD needs chip destruction. Skipping either one leaves a recovery path open.
What to Do With the Destroyed Components
Destroyed hard drives still contain steel, aluminum, rare earth magnets, and small amounts of hazardous material. Tossing them in the household trash is illegal in many areas and harmful to the environment.
Most cities have a municipal e-waste drop off that accepts hard drives for free. Retailers like Best Buy and Staples also run trade in and recycling programs in the US and Canada. UK residents can use WEEE compliant recycling centers, which are required by law to handle electronic waste responsibly.
Before you drop off the remains, separate the rare earth magnets from the rest of the drive. A single hard drive contains two or three of these magnets, which are valuable for craft and industrial reuse. Some scrap yards will pay you for them by weight.
If you are not sure where to recycle in your area, your local government’s website will list approved e-waste facilities. Avoid any recycler that does not provide a written receipt, since you want a paper trail showing your data was destroyed.
When DIY Destruction Is Not Enough: Professional Services
For most home users, a drilled and bent platter is more than enough destruction. But there are cases where DIY is not appropriate, and you should hand the job to a professional service.
Business compliance: HIPAA, FACTA, GDPR, and PCI DSS all require documented proof of destruction for sensitive data. A certificate of destruction from a licensed shredding company is the only paperwork that satisfies auditors.
Large volumes: If you are decommissioning a server room or a fleet of laptops, doing dozens of drives by hand will take days. Industrial shredders process hundreds of drives per hour.
High value targets: Executives, journalists, researchers, and anyone handling trade secrets should use professional services because the threat model is higher than a normal consumer faces.
National chains like Shred-it, Iron Mountain, and Securis offer one time drop offs and scheduled pickups. Expect to pay between $10 and $30 per drive for individual service, with volume discounts for batches.
Frequently Asked Questions
Will soaking a hard drive in water destroy it?
No. Soaking a hard drive in water does not destroy the magnetic data on the platters. The platters are sealed inside a filtered chamber that keeps moisture out. Water can corrode connectors and circuit boards, but forensic tools can still recover files from a dried out drive. The only way to destroy data with water is to fully dismantle the drive and soak the bare platters in a strong acid, which is dangerous and not recommended for home users.
How to make a hard drive unrecoverable?
To make a hard drive unrecoverable, you must physically damage the magnetic platters so no read head can ever read them. The most reliable DIY method is to open the drive, remove the platters, drill multiple holes through each one, then bend or snap the platters into pieces. Combine drilling with sanding the magnetic coating off, or take the platters to an angle grinder. Software wiping alone is not enough, because forensic tools can still lift data from reformatted drives.
Does drilling a hole in a hard drive make it unreadable?
A single drilled hole does not make a hard drive unreadable. Data recovery labs regularly recover information from drives with one or two holes because the rest of the magnetic surface is still intact. Drilling becomes effective when you drill multiple holes through each platter, ideally from both sides, and then bend or sand the platter to remove additional surface area. One hole is cosmetic. Multiple penetrations plus deformation are what defeat recovery.
Will vinegar destroy a hard drive?
Vinegar will not destroy a hard drive’s data. The acid can damage exposed circuit boards and connectors, but the platters are sealed inside the drive housing. Vinegar never reaches the magnetic layer where your files actually live. To destroy data with chemicals, you would need to dismantle the drive and submerge the bare platters in a strong acid like hydrochloric acid, which is hazardous and not appropriate for home use. Stick to physical methods like drilling, hammering, or sanding.
Final Thoughts on Destroying Your Hard Drive Safely
Learning how to physically destroy a hard drive at home safely is one of those skills that pays off the first time you upgrade a computer or wipe a family laptop. The methods are simple, the tools are common, and the protection is permanent.
My own rule of thumb is to combine at least two methods. Drill the platter, then bend it. Sand the platter, then break it.
Belt and suspenders beats wishful thinking, especially when your tax returns, passwords, and personal photos are on the line. Once the platters are visibly destroyed, recycle the remains at a certified e-waste center and keep the receipt.
If you only take one thing from this guide, take this: do not trust software to do a physical job. Drilling, hammering, or sanding your old hard drive platters is the only way to make your data truly unrecoverable.