
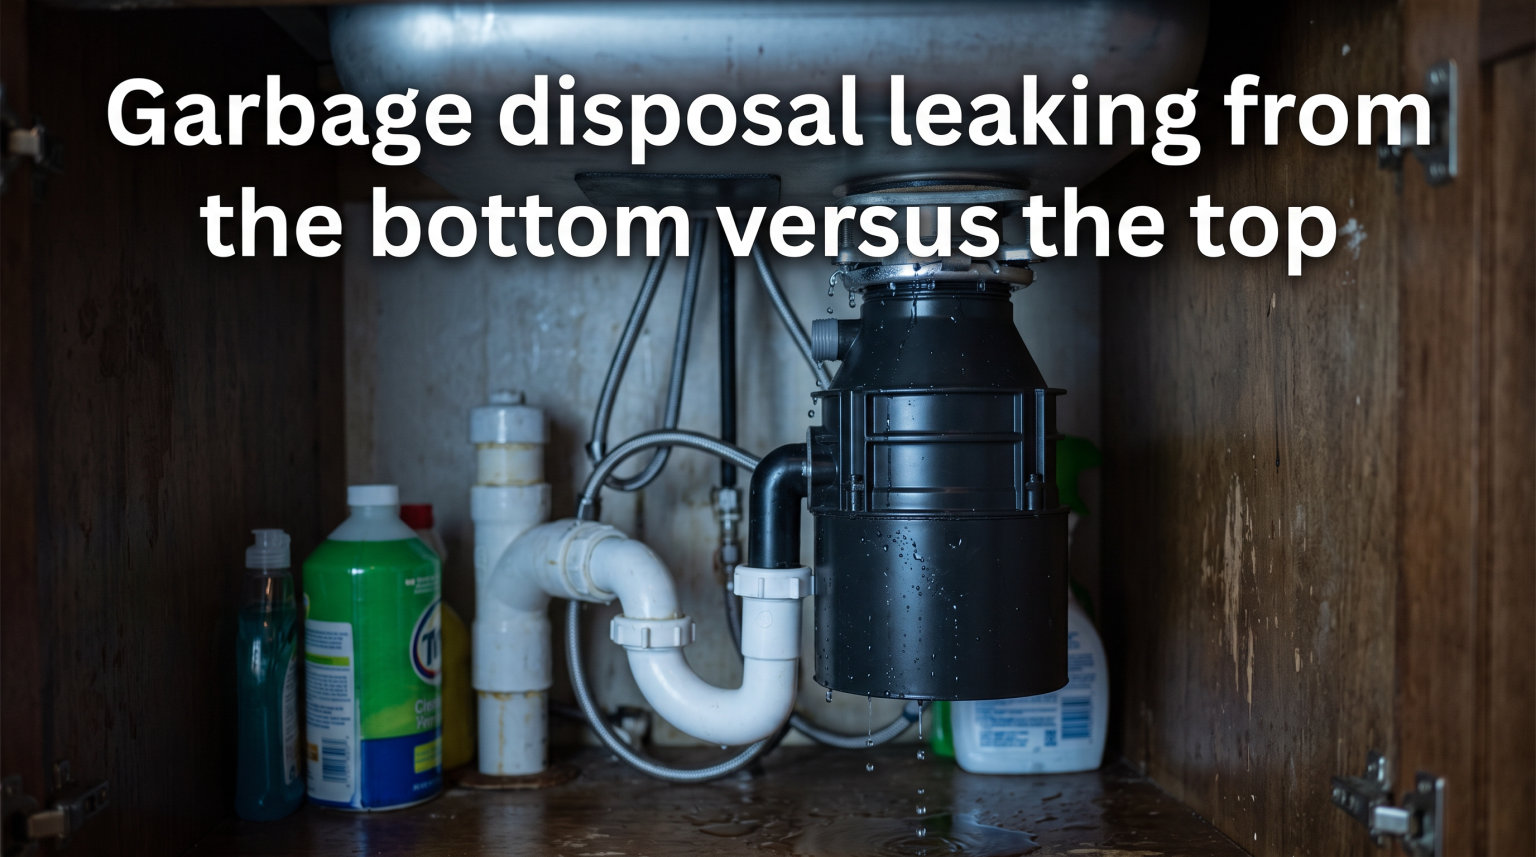
You open the cabinet under your kitchen sink and find a puddle. Your first instinct is probably to blame the pipes, but if you have a garbage disposal, that unit is one of the most common culprits. A garbage disposal leaking from somewhere on its body is a problem homeowners deal with constantly, and where the water comes out tells you almost everything about whether this is a quick DIY fix or a sign that the whole unit needs to go.
Leaking from the bottom versus the top is not a minor distinction. A top leak usually means a worn gasket or loose mounting ring, and most homeowners can handle that repair themselves in under an hour. A bottom leak, on the other hand, often points to a failed internal seal that is not serviceable, which means replacement is the realistic path. Knowing the difference before you start taking things apart can save you time, money, and a soggy cabinet floor.
This guide walks through how to find the exact source of the leak, what causes water to escape from each location, and how to fix a garbage disposal leaking at the top, side, or bottom. We also cover cost estimates, warning signs to watch for, and the repair-versus-replace decision that most homeowners end up facing.
Safety note: Always unplug the garbage disposal or switch off the circuit breaker before inspecting, touching, or disassembling the unit. Even a small amount of residual water near the power cord or reset button area can create an electrical hazard. Do not assume the wall switch is enough to make the unit safe.
Table of Contents
Why the Leak Location Matters More Than You Think?
Not all garbage disposal leaks are equal, and the location of the water tells you which parts are involved. A leak near the top of the unit almost always traces back to the mounting assembly, sink flange, or the rubber gasket that seals the disposal to the underside of the sink. These parts are external, replaceable, and reachable with basic hand tools. Most top leaks are repairable for under $20 in materials.
A leak at the bottom of the disposal tells a very different story. The bottom housing contains the motor, the drive shaft seal, and other internal components that are not designed to be opened or serviced by a homeowner. When water drips from the bottom, especially near the reset button or power cord, it usually means an internal seal has failed and water is traveling through the motor housing on its way out. In that scenario, repair is rarely an option and the entire unit typically needs to be replaced.
This is why spending ten minutes pinpointing the source is the single most useful thing you can do before buying parts or calling a plumber. The diagnostic method below works regardless of brand, whether you have an InSinkErator Badger, a Waste King, or a Moen unit.
How to Diagnose Where Your Garbage Disposal Is Leaking
Water has a frustrating habit of running along surfaces and dripping far from where it actually originates. A puddle directly under the disposal does not necessarily mean the unit is leaking from that spot. To diagnose accurately, you need to dry everything first and then watch where new water appears.
Here is a reliable step-by-step method that professional plumbers and InSinkErator’s own support documentation recommend:
Step 1. Clear everything out from under the sink and dry the entire disposal body, the mounting assembly, the drain lines, and the cabinet floor completely with a towel.
Step 2. Stuff dry newspaper or paper towels around the top of the disposal where it meets the sink, around the side connections, and directly under the bottom of the unit. This makes new water show up instantly as a dark spot.
Step 3. Plug the disposal back in, turn on the cold water, and let it run for two to three minutes without switching the disposal itself on. Watch which piece of newspaper gets wet first.
Step 4. If the paper near the top gets wet, your leak is at the sink flange or mounting assembly. If the side paper gets wet, suspect the drain line or dishwasher hose connections. If water appears at the very bottom of the unit, near the reset button or power cord, you are dealing with an internal seal failure.
Step 5. Run the disposal itself for another minute. A leak that only shows up when the unit is running, rather than just when water flows, often points to the discharge pipe connection or an internal seal under pressure.
One common mistake is to assume the disposal is the source when the leak is actually coming from the supply lines, the sink strainer, or the dishwasher drain hose that happens to run nearby. The newspaper test helps rule those out, because each wet spot lines up with a specific component rather than just a general puddle.
Garbage Disposal Leaking From the Top
A garbage disposal leaking from the top is the most common and the most repairable type of leak. The top of the unit is where it attaches to the sink, and that connection relies on a few parts that wear out over time: the sink flange, the plumber’s putty or rubber gasket that seals it, and the mounting assembly that locks the disposal to the flange. Any one of these can let water through.
Typical causes of a top leak include dried-out or missing plumber’s putty around the sink flange, a cracked or compressed rubber gasket between the mounting assembly and the disposal, a loose mounting ring that has backed off over years of vibration, or corrosion on the sink flange itself that has created a gap.
Fixing a top leak is well within reach for most homeowners. The standard process is to disconnect the disposal from the mounting assembly, clean off the old putty, apply a fresh ring of plumber’s putty around the sink flange, reinstall the rubber gasket, and re-tighten the mounting hardware evenly. Most hardware stores sell a small tub of plumber’s putty for under $10, and a replacement gasket kit runs about $10 to $15.
If the sink flange itself is corroded or cracked, replacing it is still a manageable DIY job but takes longer, because you have to remove the flange from the top of the sink and reseal it from scratch. In that case, plan on an hour or two and pick up a universal flange kit.
DIY difficulty: Easy to moderate. Most top leaks can be fixed with a screwdriver, a pair of pliers, plumber’s putty, and possibly a new gasket. No special training is required, and there are countless step-by-step video guides available for every major brand.
Garbage Disposal Leaking From the Bottom
A garbage disposal leaking from the bottom is the diagnosis nobody wants, because it usually points to a problem that cannot be fixed from the outside. The bottom of the unit houses the motor, and between the grinding chamber above and the motor below sits a shaft seal that keeps water inside the disposal. When that seal fails, water runs down the motor shaft and exits through the bottom housing, often showing up around the reset button or dripping off the power cord.
Common causes of a bottom leak include a failed internal shaft seal from normal wear and age, corrosion that has eaten through the metal body of the disposal, cracks in the lower housing from impact or freezing, and gasket failure between the upper and lower housings on some models. Reddit users in r/Plumbing and r/homeowners consistently report that bottom leaks appear suddenly with no warning, and the consensus is that they almost always mean the unit is done.
The reason a bottom leak is usually non-repairable is that the internal seals and motor components are not sold as service parts for most residential disposals. Manufacturers like InSinkErator design the motor housing as a sealed unit. Opening it to replace the shaft seal is not practical, and even if you could, the motor itself is often already water-damaged by the time you notice the leak.
There is one important exception. If water is appearing near the power cord or reset button but you can trace it to a leak higher up that is running down the outside of the unit, the actual problem may be a top or side leak rather than an internal failure. This is why the diagnostic step matters so much. Always confirm the water is genuinely exiting from inside the bottom housing, not just dripping onto it from above.
DIY difficulty: Repair is generally not possible. Replacement of the entire unit is the typical fix, and that is a moderate DIY job or a quick call to a plumber. Replacing a disposal yourself takes about an hour if you have the new unit, a screwdriver, pliers, and the mounting hardware that comes in the box.
Garbage Disposal Leaking From the Side
A leak from the side of the disposal usually comes from one of two connection points: the horizontal discharge pipe that carries water out to the drain, or the smaller dishwasher inlet connection on the side of the unit. Both are external connections held in place with clamps, screws, or slip nuts, and both can loosen or degrade over years of vibration.
Symptoms of a side leak include water dripping from where the drain line attaches to the disposal, mineral buildup or green corrosion around the discharge fitting, or water appearing only when the dishwasher runs. The dishwasher inlet uses a hose clamp and a rubber connector that can crack, and many homeowners discover a side leak for the first time right after running a dishwasher cycle.
Side leaks are typically easy to fix. Tighten the slip nut on the discharge pipe, replace a worn dishwasher hose clamp, or install a new rubber connector. If the threaded fitting on the disposal body itself is corroded, that part of the unit may need replacing, but most side leaks are connection issues rather than housing failures.
Top vs Bottom Leak: Quick Comparison
To make the diagnosis easier, here is a side-by-side comparison of the two main leak types. No major competitor lays this out in a single table, so this should help you make a fast decision about whether to repair or replace.
| Factor | Top Leak | Bottom Leak |
|---|---|---|
| Common cause | Worn sink flange putty, loose mounting ring, failed rubber gasket | Failed internal shaft seal, corroded housing, cracked body |
| Repairable? | Yes, almost always | Usually no, requires full unit replacement |
| DIY difficulty | Easy to moderate | Replacement is moderate, repair is not practical |
| Typical cost | $10 to $30 in parts | $80 to $275 for a new disposal |
| Time to fix | 30 to 90 minutes | 1 to 2 hours for replacement |
| Urgency | Fix soon to prevent cabinet damage | Replace promptly, water reaches the motor |
When to Repair vs Replace Your Garbage Disposal?
The repair-or-replace decision hinges on three factors: where the leak is, how old the unit is, and what else is going wrong. If the leak is at the top or side and the disposal is otherwise running fine, repair is almost always the right call. A ten-dollar tube of plumber’s putty or a new gasket kit can add years to a working unit.
If the leak is from the bottom, replacement is the realistic answer. There is no serviceable seal inside a standard residential disposal, and the motor has likely already been exposed to water. Continuing to run a unit with a bottom leak risks electrical damage and can ruin the cabinet below.
Age is the other major factor. Most garbage disposals last 8 to 15 years depending on usage and brand. If your unit is past the 10-year mark and develops any leak, replacing it often makes more economic sense than repairing it, because other components are likely nearing the end of their lifespan too. Frequent jamming, persistent odors, loud grinding, or a motor that hums but does not spin are all signs that the unit is failing beyond the current leak.
As a rule of thumb: top leak plus a unit under 10 years old, repair it. Bottom leak or a unit over 12 years old with any leak, replace it.
Cost Estimates: Repair vs Replacement
One thing most competing articles gloss over is actual cost. Here are realistic ranges based on current retail prices and typical plumber rates:
Top leak repair (DIY): $10 to $30 for plumber’s putty or a gasket kit, plus about an hour of your time.
Side leak repair (DIY): $5 to $20 for a new hose clamp, slip nut, or rubber connector.
Bottom leak replacement (DIY): $80 to $275 for a new disposal, depending on horsepower and brand. A basic half-horsepower unit like an InSinkErator Badger runs toward the low end, while a higher-end three-quarter or one-horsepower model costs more.
Plumber installation: $150 to $350 in labor on top of the unit cost, bringing a typical professional replacement to $250 to $600 total. Repair calls usually fall between $130 and $300 including parts and a service fee.
Warning Signs Before a Leak Occurs
Leaks rarely happen with zero warning, but the early signs are easy to miss. Catching them can prevent a small repair from becoming a full replacement and a water-damaged cabinet. Watch for the following:
Musty or sour odors coming from the cabinet under the sink often mean small amounts of water have been escaping for a while. Slow draining from the disposal side of the sink can indicate a partial blockage that puts extra pressure on seals. Unusual humming, rattling, or grinding noises suggest the motor or bearings are wearing, which precedes seal failure. Visible green or white mineral deposits around the mounting flange or side connections point to a slow existing leak you have not noticed yet.
If you see any of these signs, run the newspaper diagnostic test right away. Finding a slow top leak early is the difference between a $10 fix and a $250 replacement.
Prevention Tips to Avoid Future Leaks
Most leaks are preventable with basic maintenance habits. Run cold water before, during, and after each use to flush food particles completely through the discharge pipe. Avoid putting grease, oil, fibrous foods like celery, and starchy items like potato peels down the disposal, because they build up inside the grinding chamber and strain the seals.
Clean the disposal monthly by grinding ice cubes and a handful of citrus peels to remove residue and keep the rubber baffle flexible. Periodically check the mounting ring and side connections for tightness, especially if your disposal is more than five years old. Replace the rubber gasket and reapply plumber’s putty every 5 to 7 years as preventive maintenance, even if no leak has appeared yet.
Finally, never use chemical drain cleaners in a disposal. They corrode the internal seals and rubber components, which is one of the fastest ways to turn a healthy unit into a leaking one.
FAQs
Should a garbage disposal leak from the bottom?
No. A garbage disposal should never leak from the bottom. If water is dripping from the bottom of the unit, especially near the reset button or power cord, it almost always means an internal shaft seal has failed. This type of leak is generally not repairable on residential disposals, and the unit typically needs to be replaced.
How do you fix a leaky garbage disposal leaking from the top?
To fix a top leak, disconnect the disposal from the mounting assembly, remove the old plumber’s putty and rubber gasket, clean the sink flange thoroughly, apply a fresh ring of plumber’s putty around the flange, install a new rubber gasket if the old one is compressed or cracked, and re-tighten the mounting hardware evenly. Most top leaks take under an hour to fix with a screwdriver, pliers, and about $10 to $30 in materials.
Why is my InSinkErator dripping from the bottom?
An InSinkErator dripping from the bottom usually means the internal shaft seal between the grinding chamber and the motor has worn out. Water travels down the motor shaft and exits through the bottom housing. InSinkErator designs its motor housings as sealed units, so the seal is not a replaceable part. Replacement of the entire disposal is the standard fix.
Why is my garbage disposal leaking from the bottom by the cord?
Water near the power cord at the bottom of the disposal is a sign that water is passing through the motor housing from a failed internal seal. First confirm the water is not running down from a leak higher up, such as the sink flange or a side connection. If the water is genuinely exiting from inside the bottom housing near the cord, the internal seal has failed and the unit needs to be replaced. Shut off power immediately due to the electrical risk.
How long do garbage disposals last before they start leaking?
Most garbage disposals last 8 to 15 years with normal use before seals begin to fail. Units used heavily, run without enough water, or exposed to grease and chemical cleaners tend to leak sooner. If your disposal is over 10 years old and develops any leak, replacing it is usually more cost-effective than repairing it.
Can a garbage disposal leak only when the dishwasher runs?
Yes. If the leak appears only during a dishwasher cycle, the problem is almost always at the dishwasher inlet connection on the side of the disposal. The rubber connector or hose clamp at that inlet can crack or loosen over time. Tightening the clamp or replacing the connector typically fixes it, and this is one of the easiest disposal leaks to repair.
Final Takeaway: Diagnose First, Then Decide
Dealing with a garbage disposal leaking from the bottom versus the top comes down to one simple principle: the location tells you the prognosis. A top leak means worn putty, a loose mounting ring, or a tired rubber gasket, and you can usually fix it yourself for the cost of a few basic supplies. A bottom leak means an internal seal has failed inside a sealed motor housing, and replacement is the realistic path forward.
Before you spend a dollar or call a plumber, run the dry newspaper test to confirm exactly where the water is coming from. That single step prevents the most common and most expensive mistake homeowners make, which is replacing a disposal that only needed a $10 gasket. Once you know the source, use the comparison table and the repair-or-replace guidance above to choose the right fix, and address it quickly to protect your cabinet and flooring from water damage.