
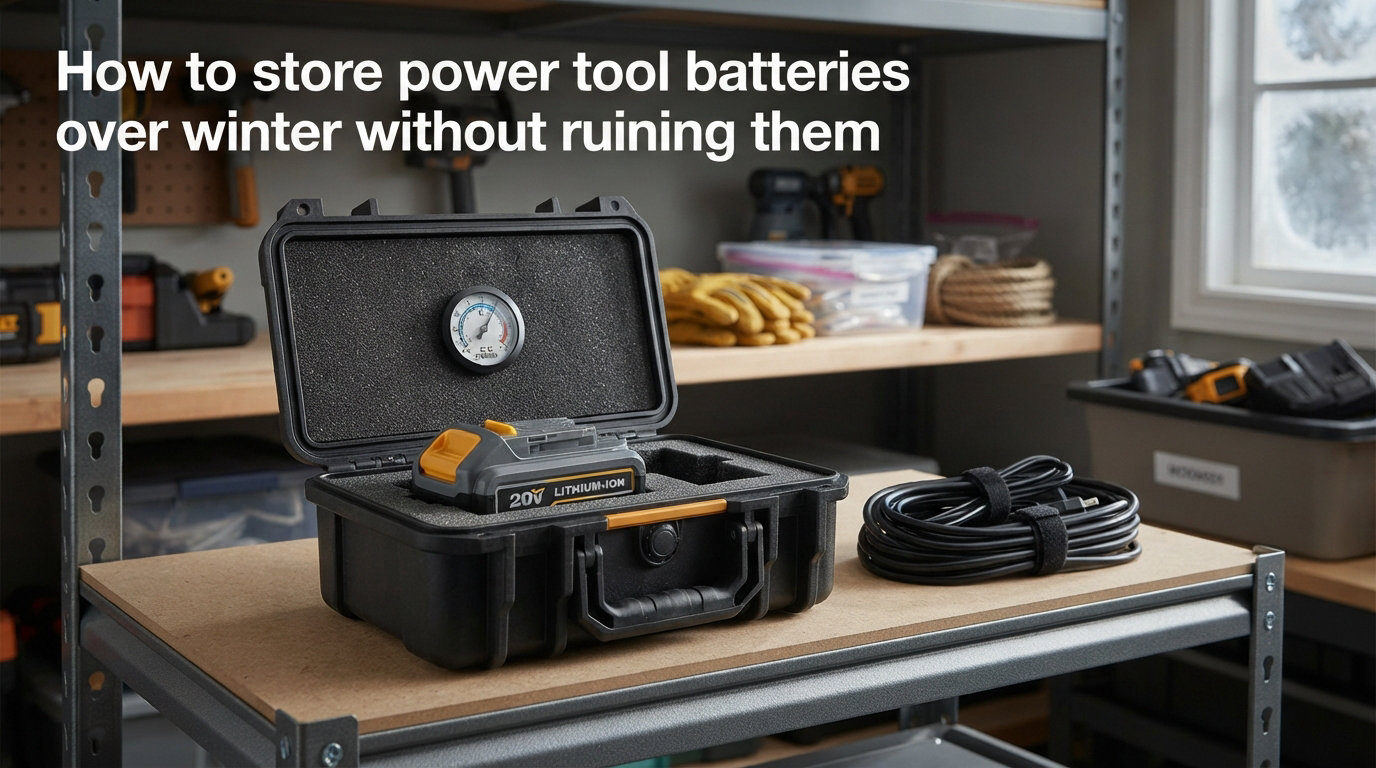
Last February I pulled my drill out of an unheated garage and found two batteries completely dead. One would not charge past 12 percent. The other had puffed up like a small pillow. That mistake cost me over $150 in replacement packs, and it is the reason I now follow a simple routine every fall.
If you want to store power tool batteries over winter without ruining them, the rules are simpler than most guides make them sound. Keep them at about half charge, in a cool dry spot inside your house, and check on them once a month. I will walk you through exactly what I do, why each step matters, and how to bring your batteries back safely in spring.
Table of Contents
Why Proper Winter Battery Storage Matters?
Improper storage is the single biggest cause of premature power tool battery failure. I learned this the hard way, and the repair bills told the same story. Lithium-ion cells slowly lose charge on their own, and when that charge drops too low, the chemistry inside permanently degrades.
Cold makes the problem worse. When temperatures drop below freezing, the electrolyte inside the cells thickens and chemical reactions slow down. The battery does not die on the spot, but the strain shortens its usable life. Heat does the opposite damage even faster. Storing a battery in a hot attic or sun-baked shed can warp the cells within weeks.
The financial hit is real. A replacement 18V or 20V pack runs anywhere from $80 to $200 depending on brand and capacity. Multiply that by two or three packs and you are looking at a $400 winter just because you skipped one storage step.
The Ideal Charge Level for Long-Term Storage
Store lithium-ion batteries at roughly 50 percent charge for any break longer than two weeks. This single rule is the one most people get wrong. Fully charged batteries sitting in storage for months slowly lose capacity at the high-voltage end of their chemistry. Completely drained batteries cross a voltage threshold where they can never recover.
Most battery management systems (the small circuit board inside every modern pack) shut the pack down before it reaches that critical low voltage, but only if the battery still had some charge when it was put away. A battery stored at zero percent for three months can drop below the recovery threshold and become a brick.
How do you get to 50 percent? Top off the battery, then run your tool for a minute or two until the fuel gauge reads half full. If your charger has a storage mode button, use it. DeWalt, Milwaukee, and Makita all ship chargers that automatically stop at about 50 percent when you select that mode.
Temperature Requirements for Battery Storage
Keep batteries between 50 and 85 degrees Fahrenheit (10 to 27 Celsius) for the best long-term results. This range slows self-discharge while staying above the point where cold starts stressing the cells. Anything colder than 32F for extended periods risks permanent capacity loss.
I keep a small wireless thermometer in my basement storage shelf. It costs about $15 and removes the guessing. During a Buffalo NY winter last year my unheated garage stayed at 18F for six straight weeks. The same week my basement held steady at 62F. The batteries I left in the garage lost about 15 percent of their rated capacity by spring.
Heat matters just as much. A battery stored in a shed that hits 100F in summer can lose 35 percent of its capacity in one season. If your only indoor option is a warm closet, that is far better than a hot garage. Aim for stable, moderate temperatures over chasing an exact number.
Where to Store Power Tool Batteries Over Winter
Indoor climate-controlled locations beat cold garages every time. The best spot is somewhere with steady temperature, low humidity, and easy access for monthly checks. A finished basement, interior closet, or utility room all work well.
Avoid storing batteries in:
Unheated garages or sheds (temperature swings damage cells)
Attics (heat builds up even in winter)
Car trunks (extreme cold and heat cycles)
Near heat sources like furnaces or water heaters
Direct sunlight through windows
Keep batteries away from metal objects when in storage. Loose change, paper clips, or steel shelving can short the terminals if a battery shifts. I keep mine in plastic tool cases or original battery boxes with the covers snapped shut.
A simple storage spot I use: a plastic tote on a closet shelf lined with a dry towel. The towel absorbs any minor moisture and the tote keeps everything together for easy monthly checks.
Step-by-Step Guide: Storing Batteries Over Winter
Follow these six steps before putting tools away for the season. I run this routine every November and have not lost a battery since.
Clean the battery. Wipe the pack with a dry cloth. Remove sawdust, dirt, or grease from the contacts and housing.
Charge to about 50 percent. Top off the battery, then run a tool briefly until the gauge shows half full, or use your charger’s storage mode if available.
Remove the battery from the tool. Never store batteries mounted inside the tool. Trapped moisture can corrode contacts.
Place in a protective case. Use the original battery cover, a plastic tool case, or a dedicated battery storage box. Keep terminals covered.
Move to an indoor location. Pick a climate-controlled spot between 50 and 85F with low humidity.
Label the date. A piece of masking tape with the storage date helps you track monthly checks.
That is the full routine. Total time is under 20 minutes for a typical 3 to 4 battery collection.
Periodic Maintenance During Winter Storage
Check stored batteries once a month for charge level and physical condition. Self-discharge rates vary by chemistry and age, but expect 2 to 4 percent loss per month in good conditions. If a battery drops below 25 percent during storage, top it back up to 50 percent.
During each check, look for three things: swelling of the plastic housing, white or green crust on the terminals (corrosion), and any unusual smell. A healthy battery looks clean, sits flat, and smells like nothing at all.
Set a phone reminder for the first Saturday of each month. The check takes five minutes and prevents the silent damage that ruins batteries over a long winter.
Signs of Battery Damage to Watch For
Swelling, leaks, rust, and rapid self-discharge signal replacement time. Catching these early protects your tools and your workspace. Here is the quick damage checklist I run through every monthly check:
Swelling or puffiness: The pack no longer sits flat or the seams split apart. Stop using it immediately and recycle.
Liquid or crusty residue: White powder or wet spots on the terminals mean a leaking cell. Handle with gloves and recycle.
Rapid charge loss: A battery that drops from full to empty in a week is losing capacity fast. Test it on a tool under load.
Excessive heat while charging: Warm is normal. Hot to the touch is not. Unplug and stop using the pack.
Visible cracks or damage: Drop the battery into recycling if the housing is breached.
Damaged lithium-ion batteries can catch fire. Do not throw them in regular trash. Most home improvement stores and battery retailers accept them for free recycling.
Bringing Batteries Back Into Service in Spring
Warm batteries gradually and inspect them before your first spring charge. This step is the one most guides skip, and it matters more than people realize. A battery stored at 35F and then slammed onto a fast charger can develop internal plating that shortens its life.
Here is my spring revival routine:
Bring batteries indoors a day before you plan to use them.
Let them sit at room temperature for at least 12 hours.
Inspect each pack for the damage signs above.
Charge to full on the regular charger (not fast charge).
Run a tool under light load for a minute to wake the cells.
Recharge to full one more time before heavy use.
The two full charges sound wasteful but they actually help the battery management system recalibrate the fuel gauge. After a long storage period the gauge often reads inaccurate until the pack completes a full cycle.
DIY Storage Solutions for Tight Spaces
Insulated totes and battery cases solve indoor space issues for renters or anyone short on room. You do not need a custom setup. A simple insulated cooler with a few desiccant packs works in a pinch for keeping batteries from temperature swings.
One trick I picked up from a forum: line a small plastic tote with foam packing material and stash a hand warmer pack inside during extreme cold snaps. It is not a long-term solution, but it works for a few weeks if your only storage option runs cold.
For something more permanent, dedicated battery storage cases from brands like Milwaukee and DeWalt hold 2 to 4 packs with built-in terminals covers. They stack neatly on a shelf and keep everything organized for the spring check.
Frequently Asked Questions
Can you store power tool batteries in the cold?
Short cold exposure is fine, but storing batteries below 32F for weeks causes permanent capacity loss. Bring them inside to a climate-controlled spot for any break longer than two weeks.
Is it okay to store power tool batteries in the garage?
Only if the garage stays between 50 and 85F year-round. In most climates this means climate control, which usually rules out a garage. An interior closet or basement is a safer pick.
Can lithium batteries be stored in an unheated garage?
It is risky in any climate that drops below freezing. The cells lose capacity faster and the fuel gauge can become inaccurate. Bring batteries inside for winter if at all possible.
How to store a lithium battery over winter?
Charge to about 50%, clean the terminals, remove from the tool, place in a plastic case, and store indoors between 50 and 85F. Check the charge once a month and top back up to 50% if it drops below 25%.
Final Thoughts on Winter Battery Care
The habit of taking 20 minutes in the fall to store power tool batteries over winter the right way saves real money and frustration. Charge to half, bring them inside, check monthly, and warm them slowly in spring. Four small steps that keep your batteries ready for years of projects.
I run this routine every November now and I have not replaced a battery due to storage damage since. The cost is zero beyond a piece of masking tape and a Saturday reminder. Your future self will thank you the first time you grab a drill in March and it works on the first try.