
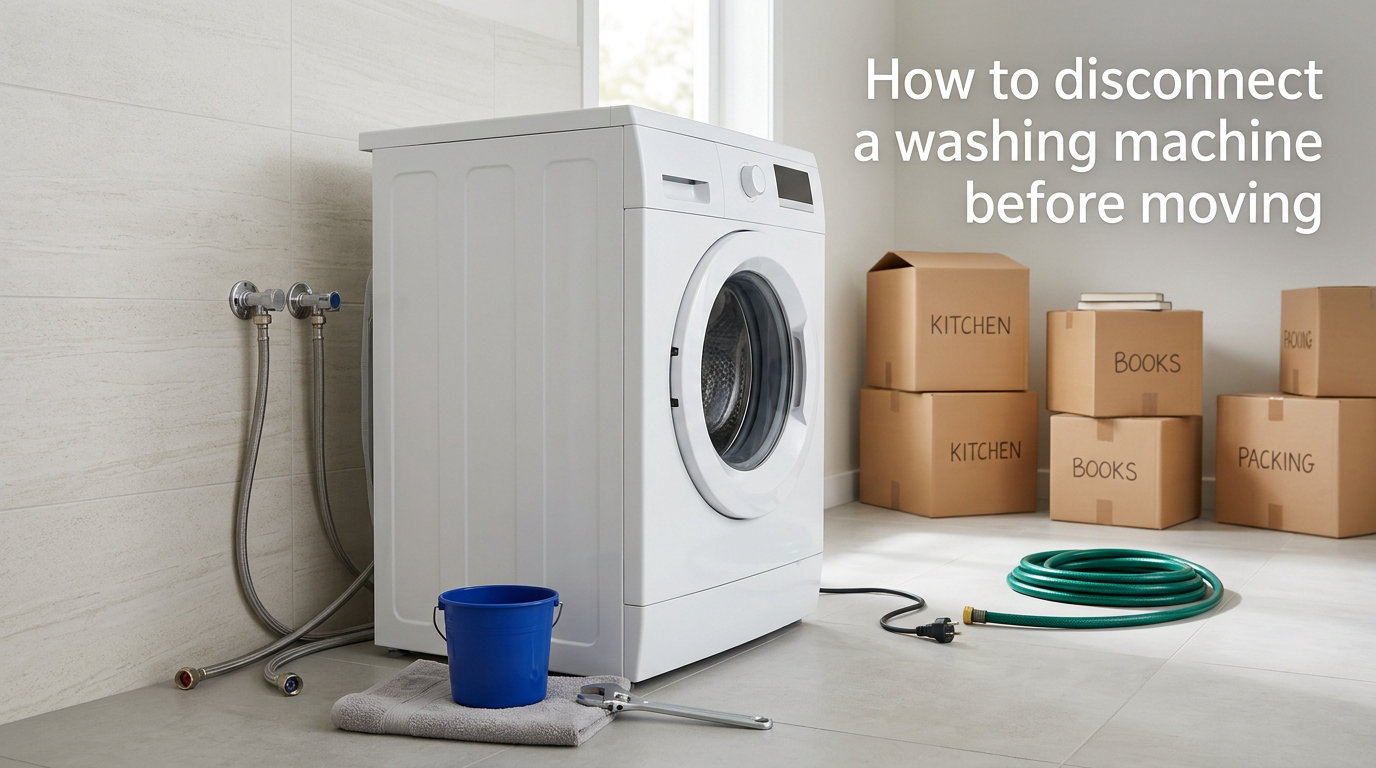
Moving house is stressful enough without a flooded laundry room or a dead appliance waiting at the other end. Learning how to disconnect a washing machine before moving is the difference between a smooth move and a costly disaster. The good news? You can handle this yourself in about 45 minutes with a few basic tools and zero plumbing experience.
I have helped friends and family disconnect and move washers on multiple occasions, and the process is the same every time. Our team has pulled together the steps that actually matter, along with the troubleshooting tips that most guides skip entirely.
Here is everything you need to know, from the moment you grab a bucket to the second you load the machine onto the dolly.
Important safety warning: You are working with both electricity and water. Never attempt any step while the machine is plugged in. Water and electrical outlets do not mix, and a single mistake can lead to shock or serious water damage.
Table of Contents
Quick-Start Checklist
If you want the short version before diving into the details, here is the entire process at a glance. Each of these steps is explained in full below.
Unplug the washing machine from the wall outlet
Turn off both the hot and cold water supply valves behind the machine
Place a bucket and towels on the floor beneath the hose connections
Pull the drain hose out of the standpipe or laundry sink
Disconnect the hot and cold water supply hoses from the valves
Move the machine away from the wall carefully
Secure the power cord and all hoses to the machine
Install transit bolts if you have a front-loading washer
That is the entire job in eight moves. Now let us walk through each one with the detail you need to avoid mistakes.
Tools You Will Need
Gather everything before you start. Running to the hardware store with water dripping behind your washer is a bad time. Here is what you need:
Essential Tools
Bucket or shallow pan for catching residual water from the hoses
Old towels or rags for spills and wiping down connections
Pliers for loosening hose connections that are hand-tight
Channel locks or an adjustable wrench for stubborn fittings
Screwdriver (Phillips and flathead) for securing transit bolts
Appliance dolly or hand truck with a strap for moving the machine
Furniture blankets or moving pads to protect the machine and your walls
Optional But Helpful Items
Zip ties or tape for securing the power cord and hoses to the machine
Transit bolts or shipping bolts if you have a front-loading washer (more on this later)
Penetrating oil like WD-40 for seized or stuck valve fittings
Plastic caps or tape to seal the water supply valves after the hoses are removed
A second person to help lift and guide the machine, especially for front-loaders
Most people already have pliers, towels, and a bucket at home. The appliance dolly is the one item worth borrowing or renting if you do not own one.
How to Disconnect a Washing Machine Before Moving: Step by Step
Now we get into the actual process. Follow these steps in order. The sequence matters because skipping ahead can leave you with water everywhere.
Step 1: Unplug the Washing Machine
This is always step one, no exceptions. Reach behind the machine and pull the power cord from the wall outlet. If the outlet is behind the washer and you cannot reach it, gently slide the machine forward just enough to access the plug.
Never disconnect any water lines while the machine is still plugged in. Electricity and water are a dangerous combination, and a small leak near a live outlet can cause a serious shock.
Once the cord is free, coil it loosely and tuck it on top of the machine or secure it with a zip tie so it does not drag on the floor or get caught while you work.
If your washing machine is hardwired directly into your home’s electrical system rather than plugged into an outlet, you will need to turn off the breaker for that circuit at your electrical panel first. Then call a licensed electrician to safely disconnect the wiring. This is not a DIY task.
Step 2: Turn Off the Water Supply Valves
Behind your washing machine, you will find two water supply valves, one for hot water and one for cold. These control the flow of water to your machine and must be shut off before you touch any hoses.
Look for the valves where the hoses meet the wall or the plumbing pipes. Most machines have a hot valve on the left and a cold valve on the right, but it varies by setup.
Turn both valves clockwise until they stop. You should feel firm resistance when the valve is fully closed. If you have lever-style ball valves, turn the handle perpendicular to the pipe. A lever that runs parallel to the pipe means the valve is open, and perpendicular means it is closed.
After turning off both valves, run a quick cycle or press the start button on your machine for a few seconds to relieve any remaining water pressure in the lines. This makes the next steps much cleaner.
Step 3: Position Your Bucket and Towels
Even after shutting off the valves, the hoses still contain water. When you disconnect them, that water will spill out. Place a bucket, shallow pan, or large bowl directly beneath the connections where the hoses meet the valves.
Lay towels around the base of the bucket and on the floor beneath the machine. Water always finds a way to miss the bucket, and a few extra towels prevent a soggy mess.
This step takes two minutes but saves you from mopping the laundry room floor. I learned this the hard way on my first washer disconnection and ended up with water running under the baseboards.
Step 4: Disconnect the Drain Hose
The drain hose is the larger, usually corrugated hose that carries used water from the machine into a standpipe, laundry sink, or wall drain. It is typically held in place by gravity or a simple clamp rather than a threaded connection.
Before removing it, check if there is standing water inside. You can lower the end of the hose into your bucket to drain any remaining water. Some machines hold a surprising amount of water in the drain system even after the final spin.
Gently pull the drain hose out of the standpipe or disconnect it from the laundry sink. If it has a clamp, loosen it with pliers first. Have a towel ready because residual water will drip out.
Once removed, coil the drain hose and set it aside. Do not let the open end drag on the floor because any water inside will leak out as you move things around.
Step 5: Disconnect the Water Supply Hoses
Now you are ready to remove the hot and cold water supply hoses. These are the braided stainless steel or rubber hoses that connect the valves on the wall to the inlet ports on the back of the machine.
Start by disconnecting the hose from the wall valve, not the machine. This gives you more control and prevents stressing the connection at the machine end.
Try loosening the connection by hand first. Turn the fitting counterclockwise. If it will not budge, use pliers or channel locks to gently break it loose. Always turn counterclockwise to loosen.
As soon as the fitting comes free, point the end of the hose into your bucket. Residual water trapped in the line will drain out. Repeat the process for the second hose.
Once both hoses are free from the wall valves, disconnect them from the back of the machine as well. Store the hoses with the machine so you have everything ready for reconnection at your new home.
Check the rubber washers inside the hose fittings. If they are cracked, worn, or missing, replace them before reconnecting. Worn washers are the number one cause of leaks after a move.
Step 6: Pull the Machine Away from the Wall
With everything disconnected, you can now move the machine. Grab a partner if possible because washing machines are heavy and awkward. Top-loaders typically weigh 130 to 180 pounds, and front-loaders can hit 180 to 250 pounds thanks to their concrete counterweights and heavy drums.
Lift slightly and slide the machine forward. Do not drag it across the floor because this can scratch vinyl, crack tile, or damage the machine’s leveling feet. If the machine has wheels or adjustable feet, retract the feet first if possible.
Watch the power cord and hoses as you pull forward. Make sure nothing is still attached or caught on plumbing behind the machine.
Once the machine is clear of the wall, give the area behind it a quick inspection. Check the valves, the standpipe, and the outlet for any damage or leaks. This is also a good time to clean the dust and lint that accumulated behind the machine.
Step 7: Secure the Power Cord and Hoses
Before loading the machine for transport, secure all loose components. The power cord, water supply hoses, and drain hose should be firmly attached to the machine so they do not swing freely during the move.
Use zip ties, tape, or bungee cords to bundle the hoses and cord against the back or top of the machine. Loose cords can snag on door frames, and swinging hoses can damage walls or the machine itself.
Tape over the open ends of the water inlet ports on the back of the machine to keep dirt and debris out during transport. A small piece of duct tape works well.
Step 8: Install Transit Bolts for Front-Load Washers
This step is critical if you own a front-loading washing machine and it is often the step that gets skipped. Front-loaders have a heavy drum suspended on shock absorbers and springs. Without proper support during transport, the drum bounces around and destroys the internal suspension system.
Transit bolts, also called shipping bolts, are long threaded rods that lock the drum in place. They were originally installed at the factory and removed when the machine was delivered. If you still have them, reinstall them now.
Check your owner’s manual for the exact location and number of bolts needed. Most front-loaders require two to four bolts inserted through holes on the back panel of the machine. Insert each bolt and tighten it firmly with a wrench.
If you lost the original transit bolts, you can often order replacement sets from the manufacturer or find universal kits online. The cost is minimal compared to replacing a damaged drum suspension, which can run hundreds of dollars.
Top-loading washers generally do not require transit bolts because their suspension system is different. However, some models have an auto-balancing ring that should be secured. Check your manual to be sure.
When Things Do Not Go Smoothly: Stuck Valves and Tight Spaces
The steps above assume everything comes apart easily. In the real world, fittings seize, valves refuse to turn, and machines get wedged into impossible spots. Here is how to handle the most common problems.
Dealing With Seized or Stuck Water Valves
If the water supply valve will not turn by hand, do not force it with a wrench. Older gate valves can break internally, and once the stem snaps, you have a serious plumbing problem on your hands.
Spray the valve stem with penetrating oil and wait 15 to 20 minutes. Then try again, applying steady pressure rather than a sudden jerk. Rock the valve gently back and forth to work the oil into the mechanism.
If the valve still will not budge, you have two options. First, turn off the main water supply to the house and then disconnect the hoses anyway, knowing the valves may drip. Second, call a plumber to replace the seized valve before you proceed.
This is the most common issue people hit when disconnecting a washer. Forum users on r/Plumbing and r/DIYUK report that seized valves are especially common in homes with older gate valves rather than modern ball valves.
Understanding Different Valve Types
Knowing what type of valve you have makes the job easier. There are two common types behind washing machines.
Ball valves have a lever handle that turns 90 degrees. When the handle is parallel to the pipe, water flows. When perpendicular, it is off. These are modern, reliable, and rarely seize.
Gate valves have a round wheel handle that you turn like a faucet. You turn clockwise to close and counterclockwise to open. These are older and more prone to sticking because the internal gate mechanism corrodes over time.
Hoses That Will Not Come Off
If a supply hose fitting is cross-threaded or corroded onto the valve, it can be stubborn. Apply penetrating oil to the threads and wait. Then use channel locks to gently turn the fitting counterclockwise.
If the fitting is truly seized and you are replacing the hoses anyway, some users report carefully cutting the hose with a utility knife to free it from a stuck fitting. This is a last resort, but it works when you need to get the machine out and the hose refuses to cooperate.
Machine Trapped in a Tight Alcove
Some laundry rooms have the washer wedged into a space with barely an inch of clearance on each side. If you cannot reach behind the machine to disconnect anything, you have a challenge.
Try lifting the front of the machine slightly and tilting it toward you. This can give you just enough access to reach the hoses and valves. Use a pry bar wrapped in a towel to protect the floor if needed.
If the space is truly impossible, you may need to remove a cabinet panel, baseboard, or countertop section to create access. In extreme cases, users on r/howto have reported cutting the drain hose to free a trapped machine and then replacing the hose at the new location.
Capping the Water Lines After Removal
Once the hoses are off, the open water valves are a hazard. If someone accidentally turns a valve handle, water will spray everywhere. This is especially risky if children or movers are in the area.
Cap the valve outlets with threaded plastic caps, available at any hardware store for a few dollars. If you cannot find caps, wrap the valve outlets tightly with tape as a temporary measure.
This step is barely mentioned by most guides, but it is a simple way to prevent a surprise flood if the valves get bumped during the rest of your move.
Tips for Moving Your Washing Machine Safely
Once the machine is disconnected, the job is only half done. Getting it from the laundry room to the moving truck without causing damage requires care and the right technique.
Always Transport Upright
Washing machines should always be moved in an upright position. Laying a washer on its side or back can cause oil from the transmission to leak into the drum and other components. This oil contamination can ruin the machine.
If you absolutely must tilt the machine to get it through a doorway, tilt it back no more than 45 degrees and keep the tilt brief. Have someone guide the machine to prevent it from tipping completely over.
If you are forced to lay the machine down and have no other option, lay it on its back, never on its side or front. Let it sit upright for at least 24 hours before plugging it in at the new location to allow any displaced oil to settle back into the transmission.
Use an Appliance Dolly
An appliance dolly with a ratchet strap is the safest way to move a washing machine. Slide the dolly behind the machine, tighten the strap around the middle, and tilt the dolly back. The machine should be stable and secure.
Always have a second person guide the machine from the front or side, especially when going up or down stairs. One person on the dolly and one spotting is the minimum safe setup for stairs.
Never use a regular furniture dolly without a strap. Washing machines are top-heavy and can tip forward off an unsecured dolly without warning.
Protect the Machine and Your Home
Wrap the machine in furniture blankets or moving pads before moving it. This protects the finish from scratches and dents from door frames and truck walls. It also protects your walls and doorframes from the machine itself.
Pay special attention to the control panel and door. These are the most fragile and expensive parts to replace. A folded towel taped over the control panel adds an extra layer of protection.
Empty the Drum Before Moving
This sounds obvious, but many people forget. Run a final drain cycle or manually check the drum to ensure there is no standing water or wet clothes inside. Water sloshing around inside the drum during transport throws off the balance and stresses the suspension.
Leave the door or lid slightly open after emptying to prevent mold and mildew from developing during the move, especially if it is a long-distance move.
Do Movers Disconnect Washers?
Most professional moving companies will not disconnect your washing machine for you. Many refuse due to liability concerns around water and electrical connections. Retailers like Costco and Home Depot have similar policies when delivering new appliances.
Some full-service movers offer appliance disconnection as an add-on service, but it usually costs extra. Always confirm with your moving company in advance what they will and will not handle.
This is why knowing how to disconnect a washing machine yourself is so valuable. You save money and avoid a moving-day surprise when the movers say it is not their job.
Reconnecting at Your New Home
Once you arrive at your new place, getting the washer back up and running is essentially the disconnection process in reverse. Here is a quick overview.
First, remove the transit bolts if you installed them. Leaving these in during operation causes violent shaking and can damage the machine. Store them somewhere safe for your next move.
Position the machine in its new spot and connect the water supply hoses to the hot and cold valves. Remember that hot goes on the left and cold goes on the right in most standard setups.
Insert the drain hose into the standpipe or laundry sink. Make sure it is secure but not sealed airtight because the machine needs air to drain properly.
Plug in the power cord and turn on both water valves. Check all connections for leaks before running a cycle. Run a short test cycle with no clothes to flush the lines and confirm everything works.
Finally, use a level to check that the machine is sitting flat. Adjust the leveling feet as needed. An unlevel washer walks across the floor during the spin cycle and makes a terrible racket.
FAQs
Do I need to unplug the washing machine before moving?
Yes, always unplug the washing machine before doing anything else. This is the first and most important step because it eliminates the risk of electrical shock when you start working with water connections.
How do I disconnect a washing machine for moving?
Unplug the machine, turn off both water supply valves, place a bucket and towels under the connections, disconnect the drain hose, remove the hot and cold supply hoses, pull the machine away from the wall, secure the cord and hoses, and install transit bolts if you have a front-loader.
Do movers usually disconnect the washer and dryer?
Most moving companies will not disconnect washers or dryers due to liability concerns around water and electrical connections. Some offer it as a paid add-on service, but you should confirm in advance and expect to handle the disconnection yourself.
How do I prepare my washing machine for moving?
After disconnecting all hoses and the power cord, secure loose components with zip ties or tape, install transit bolts on front-loaders to lock the drum, wrap the machine in furniture blankets, and transport it upright on an appliance dolly.
Can I disconnect a washing machine myself?
Yes, disconnecting a standard washing machine is a straightforward DIY task that takes about 45 minutes with basic tools like pliers, a bucket, and towels. You only need a plumber if the water valves are seized or the machine is hardwired into the electrical system.
Do I need to turn the water off to disconnect my washer?
Yes, you must turn off both the hot and cold water supply valves behind the machine before disconnecting any hoses. Skipping this step will cause water to spray out under pressure when you loosen the hose connections.
Do you need a plumber to disconnect a washing machine?
No, most standard disconnections do not require a plumber. You only need to call a plumber if the water valves are seized and will not turn, if the valves are damaged, or if the machine is hardwired and requires electrical disconnection by a professional.
How do I disconnect a hardwired washing machine?
Turn off the circuit breaker for the washing machine at your electrical panel first. Then a licensed electrician should disconnect the wiring. Hardwired machines bypass the standard wall outlet and require professional electrical work to safely separate from the home wiring.
Wrapping Up
Knowing how to disconnect a washing machine before moving saves you money, prevents water damage, and keeps your appliance safe during transport. The process comes down to eight steps: unplug, shut off water, position a bucket, disconnect the drain hose, remove the supply hoses, pull the machine out, secure loose parts, and install transit bolts.
With a bucket, some towels, a pair of pliers, and about 45 minutes, you can handle this job yourself. The only times you need professional help are seized valves that will not turn or a hardwired electrical connection that requires an electrician.
Take your time, follow the steps in order, and your washing machine will arrive at your new home ready to run its first load without a hitch.