
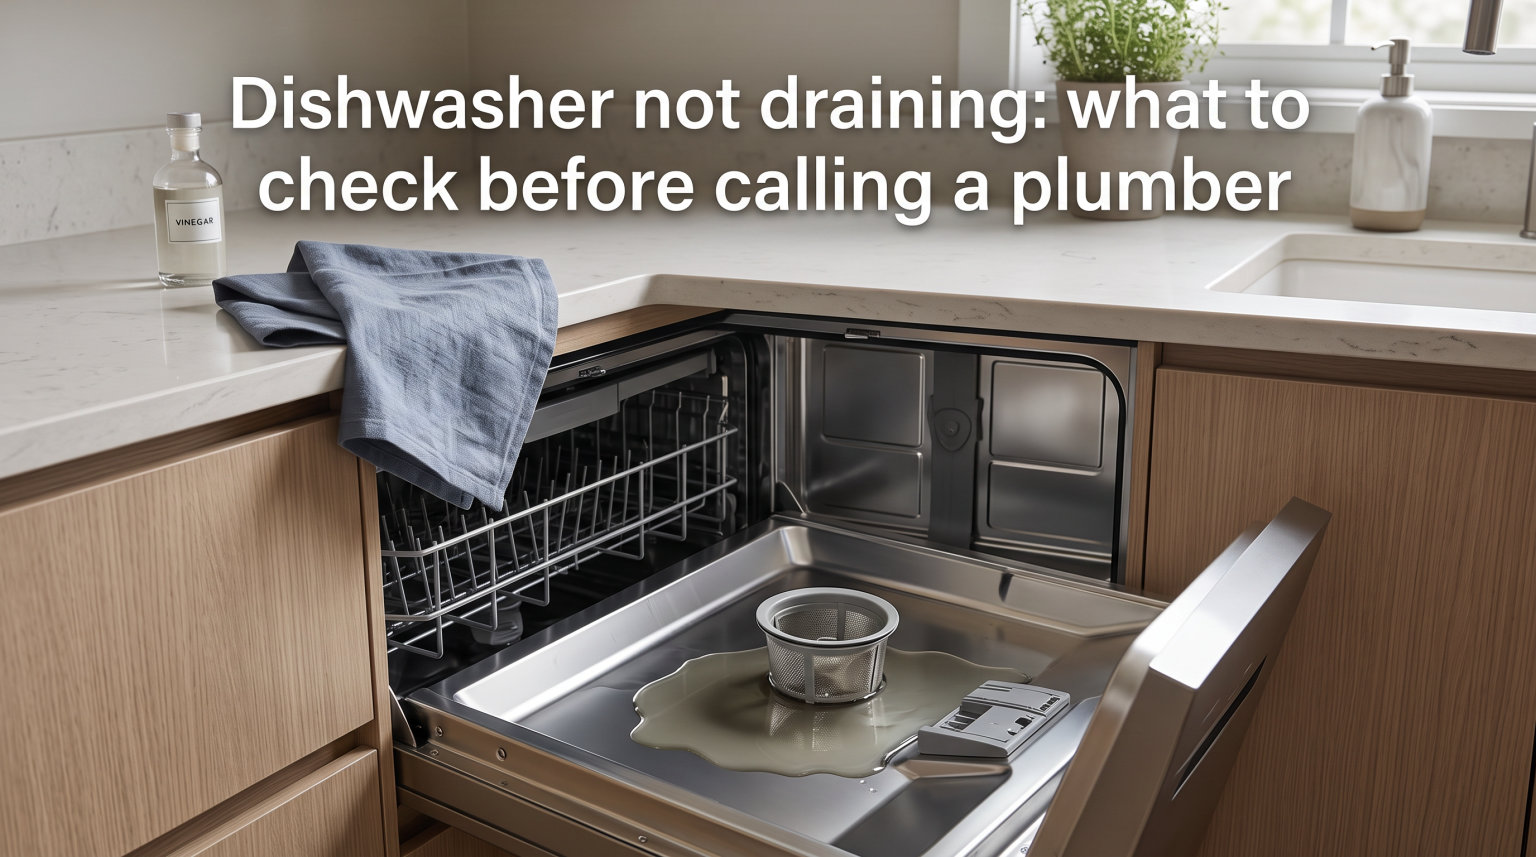
A dishwasher not draining is one of the most frustrating kitchen problems you can face. You open the door after a full cycle and find a pool of dirty water sitting at the bottom of the tub. Before you pick up the phone and pay for a service call, there are several things worth checking yourself.
In this guide, I will walk you through exactly what to inspect when your dishwasher will not drain, starting with the simplest fixes and moving toward the more involved checks. Most drainage failures trace back to a blockage somewhere along the water’s exit path, and a surprising number of them you can clear in under 30 minutes with basic household tools.
I have pulled together the steps that experienced DIYers and repair technicians on forums like r/fixit and r/Appliances recommend again and again. By the end of this walkthrough, you will know what to check, in what order, and when it makes sense to bring in a professional.
Standing water left sitting too long can cause odors, mold growth, and even damage internal dishwasher components. So it pays to act quickly. Let us get into the dishwasher not draining checklist for 2026.
Table of Contents
Quick Checklist: What to Check First
If your dishwasher is not draining, work through these checks in the order listed. The first three items on this list solve the majority of problems homeowners run into.
Scoop out the standing water with a cup, sponge, or wet/dry shop vac before you start.
Remove and clean the filter at the bottom of the tub.
Inspect the drain hose for kinks, pinches, or grease clogs.
Check the garbage disposal knockout plug, especially if the disposal is newly installed.
Clean the air gap if your sink has one of those small chrome cylinders.
Listen to the drain pump for a humming sound or total silence.
Inspect the check valve for stuck debris if everything else checks out.
Forum users on r/fixit consistently report that roughly 95 percent of cases come down to a clogged drain hose between the dishwasher and the garbage disposal. If your filter already looks spotless, make the drain hose your next stop.
Step 1: Remove Standing Water Safely
Start by cutting power to the dishwasher at the breaker panel. You will be reaching into a wet area near electrical components, so this step is non-negotiable for your safety.
Use a large cup or ladle to scoop the standing water out of the tub and dump it into a bucket. A wet/dry shop vac makes this job dramatically faster, which is why repair techs on the appliance forums recommend keeping one handy for exactly this situation.
Soak up whatever remains with old towels or a sponge. You want the tub as dry as possible before you start pulling parts, because water will pour out of the filter housing and pump area the moment you open them up.
Once the tub is reasonably dry, remove the bottom dish rack and set it aside. This gives you clear access to the filter, spray arm, and sump area where most drainage problems begin.
Step 2: Clean the Dishwasher Filter
The filter is the single most common cause of a dishwasher not draining, and it is also the easiest fix on this list. A clogged dishwasher filter traps food particles, grease, and debris until water simply cannot pass through.
Find the filter at the bottom of the tub, usually right under the lower spray arm. Most filters consist of two parts: a cylindrical upper filter that twists to unlock and a flat lower mesh screen that lifts straight out.
Twist the upper filter counterclockwise to unlock it, then pull it straight up. Lift out the lower mesh screen beneath it. Hold both parts under hot running water and scrub them with a soft-bristled brush, like an old toothbrush, to remove trapped food and grease.
Check the sump area underneath the filter for any large debris, broken glass, or compacted food. Reach in carefully and remove anything you find. Once everything is clean, reassemble the filter by reversing the removal steps and run a short rinse cycle to test.
Step 3: Check the Drain Hose for Kinks and Clogs
A kinked or clogged dishwasher drain hose is the culprit behind a huge percentage of drainage failures. The hose carries water from the pump to your sink drain or garbage disposal, and any restriction along that path stops the dishwasher from emptying.
Pull the dishwasher out slightly or remove the lower kick plate at the front bottom to access the hose. Trace the hose from the back of the dishwasher to where it connects under the sink. Look for sharp bends, pinch points where the hose is crushed against a cabinet wall, or sections that have collapsed.
If the hose looks physically fine, it may be clogged internally with hardened grease or food. Place a shallow pan underneath, loosen the hose clamp at the disposal or sink connection, and pull the hose off. Hold the disconnected end over a bucket and run water through it backward from the dishwasher side to flush out any blockage.
Forum contributors on r/DIY note that fat and grease solidify inside the hose over time, creating a stubborn wall of buildup. If hot water will not clear it, you may need to replace the hose entirely, which costs only a few dollars and takes about ten minutes.
Step 4: Inspect the Garbage Disposal Connection and Knockout Plug
This step matters most if you recently installed a new garbage disposal, though it catches people off guard even years later. Dishwashers connect to the disposal through a port on the side, and that port comes sealed from the factory with a small plastic or metal knockout plug.
If the installer forgot to knock out that plug, water has nowhere to go. The dishwasher pump runs, water pressurizes against the sealed port, and nothing drains. It is one of the most overlooked causes of a dishwasher not draining, and it is a frequent complaint from homeowners in new construction or after a kitchen remodel.
To check, disconnect power to the disposal first. Remove the drain hose from the disposal inlet and reach your finger inside the port. If you feel a solid wall, the knockout plug is still in place.
Knock the plug out by inserting a screwdriver into the port from the outside and tapping it with a hammer. The plug will pop into the disposal chamber. Use needle-nose pliers to fish the plug out of the disposal so it does not jam the blades, then reconnect the hose and test.
Step 5: Clean the Air Gap
Not every kitchen has an air gap, but if yours does, it is a common spot for blockages. An air gap is that small chrome cylinder sitting next to your faucet on top of the sink. It prevents dirty sink water from siphoning back into the dishwasher.
Pop the decorative cap off the top of the air gap. Underneath you will find a plastic diverter that lifts straight out. Remove any debris, food particles, or mineral buildup you find inside the housing.
Run a short dishwasher cycle and watch the air gap. If water spurts out of the top during the drain cycle, the blockage is further down the line, usually in the hose between the air gap and the garbage disposal. Disconnect and clean that section of hose the same way you cleaned the main drain hose.
Step 6: Check the Drain Pump
If the filter, hose, disposal, and air gap all check out, the drain pump itself may be the problem. The pump pushes water out of the dishwasher at the end of each cycle, and it can fail in two ways: it jams, or the motor burns out.
Start the dishwasher on a rinse cycle and listen carefully near the bottom of the unit during the drain phase. A healthy pump produces a steady humming or slight grinding sound. Complete silence means the pump is not receiving power or the motor has failed. A loud buzzing with no drainage suggests the impeller is jammed.
Unplug the dishwasher and remove the lower access panel. Locate the pump, which typically sits at the front bottom of the machine behind a removable housing. Some pumps have a visible impeller you can spin manually with a screwdriver to check for jams.
Forum repair threads on r/Appliances point out that broken glass, fruit pits, and bone fragments often make it past the filter and shatter the impeller vanes. If the impeller is damaged, the pump needs replacement rather than cleaning. That is a part you can order and swap yourself for a fraction of a service call, or hand off to a technician.
Step 7: Inspect the Check Valve
The check valve is a part many troubleshooting guides skip entirely, which is a mistake because it causes a specific and confusing symptom. A check valve is a one-way flap inside the drain path that prevents dirty water from flowing back into the dishwasher after the pump shuts off.
When the check valve sticks open, you will notice the dishwasher drains fine during the cycle but then slowly fills back up with water after it sits. Homeowners often describe it as the dishwasher not draining completely, even though the pump is working and there is no obvious blockage.
To inspect the check valve, locate it along the drain hose near the pump outlet. It is usually a small rubber or plastic flapper inside a fitting. Remove the fitting, pull out the valve, and check whether it moves freely and seals completely.
If the flapper is warped, cracked, or coated with mineral scale, replace it. Check valves are inexpensive parts, and swapping one takes only a few minutes once you have the hose disconnected. This small fix resolves a problem that frustrates many homeowners who have already cleaned everything else.
When to DIY vs Call a Plumber
Knowing when to stop and call a professional saves you time, money, and frustration. The general rule is straightforward: if the fix involves cleaning, clearing, or replacing an accessible external part, you can handle it. If it requires electrical diagnosis, internal component access behind sealed panels, or anything involving your home’s plumbing behind the wall, call a pro.
DIY-friendly repairs:
Cleaning the filter and sump area
Clearing or replacing the drain hose
Knocking out the disposal plug
Cleaning the air gap
Replacing the check valve
Swapping the drain pump if you are comfortable with a screwdriver and basic wiring
Call a professional when:
The breaker trips repeatedly when the dishwasher runs, which points to an electrical fault
You suspect a problem with the home’s plumbing rather than the appliance itself
The dishwasher is under warranty and DIY repairs could void coverage
You have worked through every step on this list and the problem persists
Most plumbers and appliance technicians charge a flat diagnostic fee plus parts and labor. If you have already narrowed the problem to a specific component, tell the technician what you found. That information can shorten their diagnosis time and reduce your total bill.
Hard Water and Mineral Buildup Prevention
In hard water areas, mineral deposits slowly coat the inside of your dishwasher’s drain path. Calcium and lime scale build up on the filter mesh, inside the drain hose, and across the check valve flapper until water struggles to pass through. This is a slow-developing problem that most national brand troubleshooting guides never mention.
The signs are subtle at first: slightly longer drain cycles, a chalky white film on the tub walls, and a gradual reduction in cleaning performance. Eventually the scale narrows the drain passages enough to cause a full backup.
To fight mineral buildup, run an empty dishwasher with a cup of white vinegar in a bowl on the top rack once a month. The vinegar dissolves scale without damaging rubber seals. For tougher deposits, a dishwasher-safe descaler product run through a hot cycle restores flow quickly.
How to Prevent Future Drainage Problems
Most drainage failures are preventable with a few simple habits. These steps keep food, grease, and minerals out of the drain path before they cause trouble.
Scrape plates before loading. Large food chunks belong in the trash or compost, not in the dishwasher.
Clean the filter weekly. A quick rinse under the tap takes 30 seconds and prevents most clogs.
Run a vinegar cycle monthly. This dissolves mineral deposits and grease before they accumulate.
Use the right detergent. Cheap powder detergents leave more residue than tablets or pods.
Check the drain hose after any kitchen work. Shifting a disposal or bumping the plumbing can kink the hose.
Run hot water at the sink first. This primes the drain line with hot water so grease does not solidify in the hose.
FAQs
Why is there standing water at the bottom of my dishwasher?
Standing water at the bottom of your dishwasher means the drain path is blocked somewhere. The most common cause is a clogged filter at the bottom of the tub, followed by a kinked or grease-clogged drain hose, a sealed garbage disposal knockout plug, or a failed drain pump. Check the filter first, then trace the drain hose to the disposal connection.
How do you fix a dishwasher that won’t drain?
Start by scooping out the standing water and cutting power to the unit. Remove and clean the bottom filter, check the drain hose for kinks and clogs, verify the garbage disposal knockout plug was removed, and clean the air gap if you have one. If none of those fix it, listen to the drain pump for a humming sound or silence to determine whether the pump has failed.
Why is my dishwasher not emptying but no blockage?
If you have checked the filter, hose, and disposal and found no blockage, the problem is likely the drain pump or the check valve. A pump that hums but does not move water may have a jammed or broken impeller. A check valve stuck open allows water to flow back into the tub after the cycle ends, which looks like the dishwasher never drained.
How to unclog a dishwasher with standing water?
First scoop out the standing water with a cup or wet/dry shop vac and disconnect the power. Remove the lower rack, twist the filter counterclockwise to unlock it, and scrub it under hot water. If the filter is clean, disconnect the drain hose from the garbage disposal and flush it with hot water to clear any grease clog.
Conclusion
A dishwasher not draining almost always comes down to a blockage you can find and clear on your own. Work through the filter, drain hose, garbage disposal knockout plug, air gap, drain pump, and check valve in that order, and you will solve the vast majority of problems without ever picking up the phone.
The small habits that matter most are scraping plates, cleaning the filter weekly, and running a vinegar cycle monthly to keep grease and mineral scale at bay. If you make it through every step and the water still will not budge, that is your signal to call a plumber or appliance technician with a clear report of what you already checked.