
Last month, I watched a fellow reseller open a $400 return box and pull out a laptop that looked like it had been through a blender. The screen was cracked, the hinge was bent, and the buyer wanted a full refund. The seller had used a single layer of bubble wrap inside a reused grocery store box.
That single shipment cost the seller more than two weeks of profit. The thing is, almost every electronics shipping disaster I have seen comes down to the same handful of avoidable mistakes. I have packed and shipped hundreds of electronics for resale over the past few years, and I have also made some of those mistakes myself. This guide exists to make sure you do not have to.
In this guide, I will walk you through the entire process of safely shipping electronics you sold online. You will get the exact packing protocol I use, an honest carrier comparison, the latest lithium battery rules for 2026, and a step-by-step damage claims process that most articles skip. By the end, you will have a repeatable workflow that protects both your device and your bottom line.
Table of Contents
Why Shipping Electronics Demands Extra Care?
Electronics are the single highest-risk category in parcel shipping. Carriers handle millions of packages every day, and the ones that fail most often share three traits: they are heavy for their size, they contain fragile components, and they frequently include a battery. Phones, laptops, tablets, cameras, gaming consoles, and monitors all hit that trifecta.
There is also a regulatory layer that you do not face when shipping, say, a t-shirt. Lithium batteries are classified as dangerous goods by the International Air Transport Association (IATA) and the U.S. Department of Transportation. Most carriers will still ship electronics with installed batteries under specific conditions, but the rules changed in 2026, and the wrong label can result in your package being returned, confiscated, or simply refused at the counter.
Then there is the money side. If you are reselling electronics on eBay, Amazon, or Mercari, the average order value runs several hundred dollars. A damaged screen or a dead motherboard wipes out your margin and triggers a dispute that can hurt your seller rating. The few extra minutes you spend packing correctly are the cheapest insurance you will ever buy.
Pre-Shipment Device Preparation Checklist
Most guides skip this step, but it is the one that saves sellers from the most painful outcomes. Before a single piece of bubble wrap comes out, run through this checklist. I have used it on everything from $20 used iPods to $1,200 gaming laptops, and it has never let me down.
Back up and wipe the device. A buyer who receives a device with the previous owner’s data has legal recourse that goes far beyond a return. Sign out of iCloud, Google, Microsoft, and any other account. Perform a factory reset. For laptops, reimage the drive if it is over five years old.
Remove accessories and removable parts. Pull SIM cards, SD cards, and styluses. Take off any silicone cases or covers. Pack small parts in a labeled bag inside the box so they do not rattle around.
Power down completely. Do not ship in sleep mode. A device that wakes up in transit can overheat, drain the battery, or worse.
Drain or charge the battery to the recommended level. For lithium-ion batteries being shipped under IATA rules, target around 30 percent state of charge. A full battery is more volatile in a thermal event; a dead battery can be damaged by deep discharge. Thirty percent is the sweet spot.
Photograph the device from every angle. Capture the screen, the back, the serial number, and any existing cosmetic flaws. Save these photos with the date and the order number. This is your single best defense against false damage claims.
Photograph the serial number close-up. Buyers occasionally swap a broken unit for a working one and claim a refund. A clear serial number photo taken before sealing the box protects you.
Set aside five minutes per device. That time pays for itself the first time a buyer claims the item arrived damaged when it actually arrived in perfect shape.
Essential Packing Materials for Shipping Electronics
Walking into a shipping supply store without a list is how you end up overspending on the wrong stuff. Here is the kit I keep stocked and the role each item plays.
Anti-static bags (ESD protection): Standard bubble wrap can generate static electricity that fries sensitive components. Anti-static bags, the pink or silver pouches you have seen holding new motherboards, prevent that. They cost pennies and are non-negotiable for circuit boards, hard drives, and any exposed electronics.
Double-walled corrugated boxes: Look for boxes rated 32 ECT (Edge Crush Test) or higher. Single-wall boxes crush under stacking weight during transit. A good outer box should leave at least two inches of clearance on every side once the device is inside.
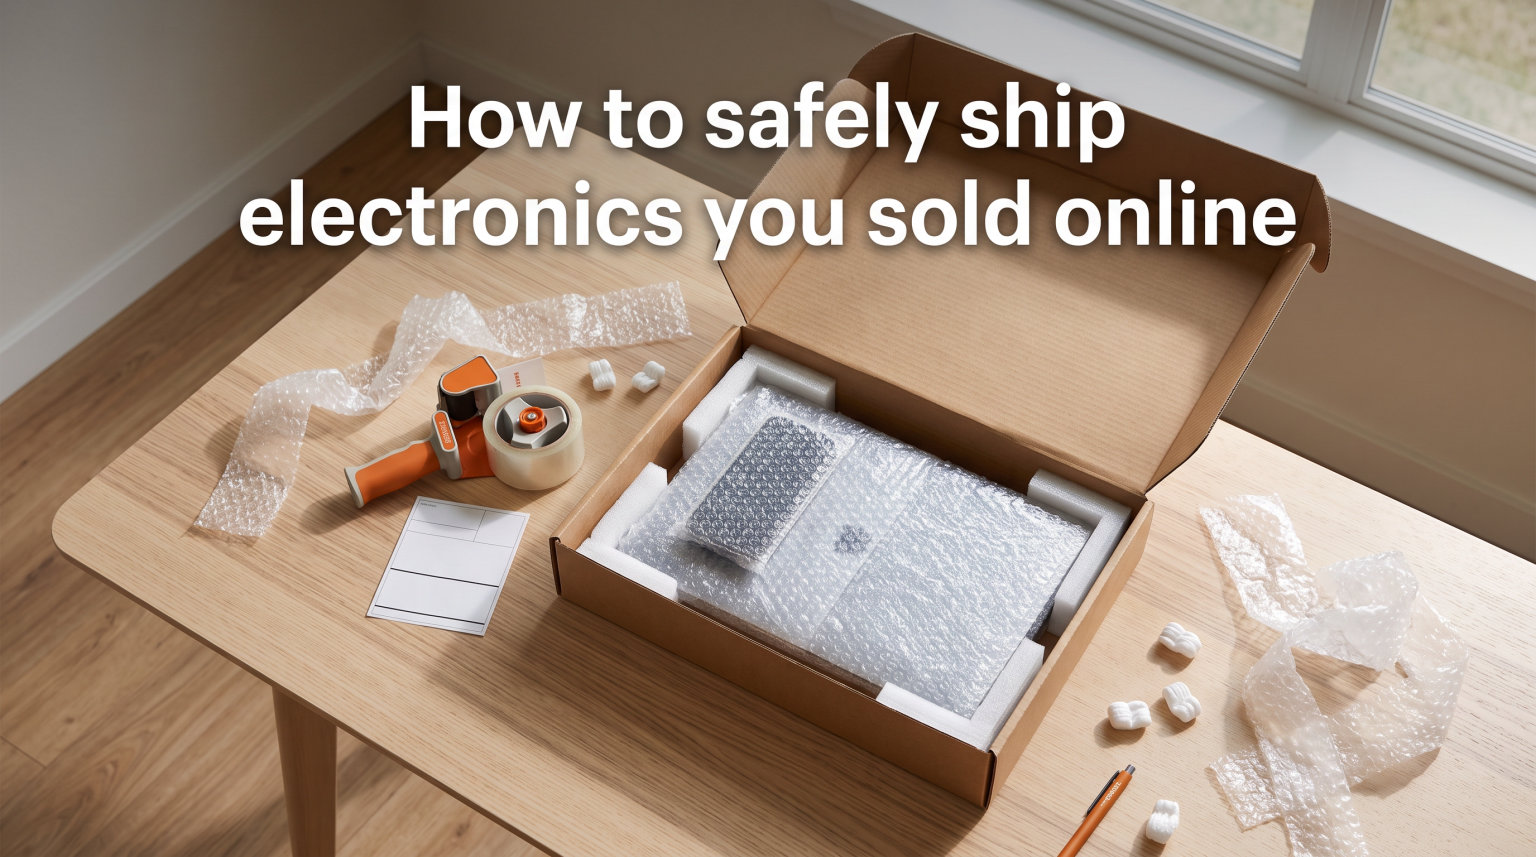
Bubble wrap: Use large-bubble wrap for cushioning and small-bubble wrap for surface protection. I keep both on hand. Aim for a minimum of three inches of bubble wrap between the device and the box wall on every side.
Foam inserts and air pillows: Foam corners are especially useful for laptops and monitors. Air pillows fill voids cheaply and work well for irregular shapes. Skip packing peanuts for electronics. They migrate during transit and leave the device unsupported.
Strong packing tape: Standard shipping tape works, but reinforced filament tape is worth the upgrade for heavier boxes. You will use the H-taping method, which means you need tape that holds.
Warning labels: “Fragile,” “This Side Up,” and battery warning labels (UN3480 or UN3481 when applicable) reduce rough handling. They do not guarantee care, but they help.
The 8-Step Packing Protocol for Electronics
This is the workflow I run for every electronics shipment, regardless of size or value. Following these eight steps has given me a damage rate under 1 percent across the last 200 shipments.
Step 1: Place the Device in an Anti-Static Bag
Slide the powered-down device into an appropriately sized anti-static bag. Press out excess air and tape the bag closed. The device should fit snugly with no slack. If the bag is too big, fold the excess under the device and tape it down. The point is to keep the device immobile inside the bag.
Step 2: Wrap with a Minimum of Three Layers of Bubble Wrap
Wrap the bagged device in large-bubble wrap, with bubbles facing inward for better cushioning against the outer box. Use at least three layers for phones and tablets, four layers for laptops, and six layers for monitors or TVs. Tape each layer so it does not unravel mid-shipment.
Step 3: Choose the Right Box Size
The outer box should leave at least two inches of clearance on every side of the wrapped device. More is better for fragile items, but you also pay dimensional weight penalties on every inch. Two to three inches is the sweet spot for most electronics.
Step 4: Add a Cushioning Base Layer
Place a layer of bubble wrap, foam, or crumpled kraft paper in the bottom of the box. This is your shock absorber. Aim for at least two inches of material below the device.
Step 5: Center the Device and Immobilize It
Set the wrapped device in the center of the box. The device should not touch any wall. If it does, add more cushioning. Movement inside the box is the leading cause of in-transit damage.
Step 6: Fill All Voids
Stuff every gap between the wrapped device and the box walls with air pillows, foam, or additional bubble wrap. The device should not shift at all when you shake the box gently. If it moves, add more material.
Step 7: Seal with the H-Taping Method
Apply tape along the center seam first, then add strips down each perpendicular edge. The resulting H pattern reinforces the box’s most vulnerable points. Use at least two strips of tape on every seam for boxes over five pounds.
Step 8: Label and Document
Apply the shipping label to the largest flat surface of the box. Cover it with a clear pouch or tape to prevent smudging. Add “Fragile” and battery warning labels as required. Photograph the sealed, labeled box from all sides before it leaves your hands. Save the photos with the order number.
Carrier Comparison: USPS vs UPS vs FedEx
Choosing the right carrier is not just about price. Each major carrier handles electronics and lithium batteries differently, and the differences matter for both compliance and claims. Here is an honest comparison based on real shipments I have run through each service.
| Feature | USPS | UPS | FedEx |
|---|---|---|---|
| Best for | Light packages under 5 lb, low declared value | Heavier electronics, signature-required deliveries | Time-definite international, fragile screens |
| Built-in insurance | $100 included on most services | $100 included | $100 included |
| Additional insurance | Up to $5,000 via USPS Insurance | Up to $5,000 declared value | Up to $50,000 declared value |
| Lithium battery policy | Allows installed batteries (UN3481) ground only | Allows installed batteries with quantity limits | Allows installed batteries; stricter air rules |
| Signature confirmation | $3.45 starting | $5.45 starting | $5.55 starting |
| Tracking | Included free | Included free | Included free |
| Damage claims deadline | 60 days | 9 months for new, 60 days for used | 60 days |
My rule of thumb: USPS for anything under $200 in declared value that ships domestically. UPS for heavier or signature-required deliveries. FedEx when speed matters or when shipping internationally. The cost difference is usually under $5 for similar services, so pick based on rules rather than price alone.
Lithium Battery Shipping Rules and Regulations
This is the section where most sellers get tripped up. Lithium-ion batteries are classified as Class 9 dangerous goods, but there is a “Section II” provision that lets small batteries ship under simplified rules. Knowing which category your device falls into is essential.
| UN Number | What It Covers | Shipping Rules |
|---|---|---|
| UN3480 | Standalone lithium-ion battery (no device attached) | Strict rules; often restricted to ground or specialized carriers |
| UN3481 | Lithium-ion battery packed with or contained in equipment | Section II eligibility for batteries under 100 Wh; ground shipping common |
| UN3090 | Standalone lithium-metal battery | Restricted; rarely shipped by general sellers |
| UN3091 | Lithium-metal battery in equipment | Limited quantities; check carrier-specific rules |
The 30 percent state of charge rule: Effective in 2026, IATA requires that lithium batteries shipped under Section II be at no more than 30 percent state of charge. This is not optional. Carriers can and do spot-check. Charge the device to 30 percent before shipping, then power down completely.
Surface-only transport: Many used or refurbished electronics must travel by ground only, which means no air shipping even if you pay for two-day delivery. UPS and FedEx will often reroute ground packages by air without telling you, which can result in carrier refusal to honor a damage claim. Use ground services explicitly when shipping used electronics with batteries.
Marking requirements: Packages containing lithium batteries must display the appropriate UN number, a Class 9 lithium battery hazard label, and a “Surface Transportation Only” marking when applicable. The UPS Store and FedEx Office locations will apply these labels correctly if you ask. It is worth the trip.
Insurance, Declared Value, and Signature Confirmation
Every carrier includes $100 of insurance by default on most services, but that coverage has limits, especially for electronics. Understanding the difference between “declared value” and “insurance” can save you from a painful surprise.
| Coverage Type | What It Does | Common Exclusions |
|---|---|---|
| USPS Insurance | Covers loss, damage, missing contents | No coverage for mechanical or electrical failure |
| UPS Declared Value | Covers damage up to declared amount | Excludes laptops, LCD screens, and TVs in some cases |
| FedEx Declared Value | Covers damage up to declared amount | Excludes data loss and mechanical failure |
| Third-party shipping insurance | Standalone policies covering parcel value | Fewer exclusions; usually better payouts |
Signature confirmation costs between $3 and $6 depending on carrier and should be added for any package worth more than $200. It creates a paper trail proving the buyer (or their authorized recipient) actually received the package. Without it, a buyer can claim “porch theft” and win a dispute even if the item was delivered.
For shipments over $500, look into third-party shipping insurance from providers like Shipsurance or UPS Capital. They cover what carrier policies exclude and often pay out faster.
Device-Specific Packing Tips
Different electronics have different failure modes. Tailoring your packing approach to the device cuts damage risk dramatically.
Laptops: Use the original retail box and foam inserts if you still have them. They were engineered specifically for shipping. If not available, wrap the screen with an extra layer of cardboard on both sides before the bubble wrap to prevent flex damage to the LCD.
Phones: Smaller boxes are actually easier to pack. Use a snug foam-lined box (available from shipping suppliers for under $2). Wrap the phone in anti-static material, then place it in the foam cutout so it cannot shift.
TVs and monitors: Anything over 27 inches requires double-boxing. That means packing the TV in its original box, then placing that box inside a larger outer box with at least three inches of cushioning on every side. The outer box absorbs impact; the inner box protects against flex.
Gaming consoles: Original foam inserts are gold. If you do not have them, wrap the console in two layers of bubble wrap, secure the disc drive (tape it open or wedge paper inside), and pack any controllers and cables in a separate bag inside the same box.
Hard drives and SSDs: Wrap in anti-static material, then surround with at least two inches of foam. Hard drives are highly shock sensitive and need extra cushioning. Ship in a small, snug box.
How to File a Damage Claim When Things Go Wrong
Even perfect packing sometimes fails. Knowing how to file a damage claim quickly and correctly is the difference between eating a $300 loss and recovering the full value. Here is the process that works with every major carrier.
Document the damage immediately. Photograph the box as it arrived, including the label and any visible damage. Photograph the device from every angle. Take a short video if possible. Time-stamps matter.
Retain all packaging materials. Do not throw away the box, the packing material, or the labels. Carriers will require these to process a claim. I keep them in a designated bin until the claim is closed.
File the claim online within the carrier’s deadline. USPS has 60 days from the mailing date. UPS requires claims within 9 months for new items and 60 days for used. FedEx gives you 60 days from the ship date.
Submit proof of value. Include the original purchase receipt, the platform sale record, and any repair estimates. The more documentation, the faster the payout.
Follow up by phone. Online claims often stall. Call the carrier’s claims line and ask for a status update after five business days. I have seen claims jump from “pending” to “approved” within hours of a phone call.
For marketplace sales, file the carrier claim and the platform dispute simultaneously. eBay’s Money Back Guarantee and Amazon’s A-to-Z Guarantee often resolve faster than carrier claims, especially when the buyer is unresponsive.
Defending against fraudulent claims: The pre-shipment photos you took earlier are now worth their weight in gold. When a buyer claims an item arrived broken and you have timestamped photos showing it working and properly packed, the dispute usually resolves in your favor. Document everything.
International Shipping Considerations
Cross-border electronics sales open up a new layer of complexity. Customs forms, tariff codes, and country-specific battery restrictions all factor in.
Use HS (Harmonized System) codes correctly on customs forms. Consumer electronics typically fall under codes starting with 8517, 8528, or 8543. Misclassifying an item can result in customs delays, return-to-sender, or fines.
Many countries restrict or prohibit lithium battery imports by air. Canada, the UK, and most of the EU accept ground or sea shipments with installed batteries under IATA rules. Australia and Japan have stricter limits. Check the destination country’s import rules before listing the item.
DHL and FedEx International are the easiest options for cross-border electronics. They handle customs documentation, offer detailed tracking, and have predictable delivery windows. USPS International is cheaper but slower and offers weaker damage claims support.
Platform-Specific Shipping Requirements
Where you sell changes how you ship. Each major marketplace has its own expectations and built-in protections.
eBay: Use eBay’s integrated shipping labels for a discount of 5 to 15 percent off retail rates. eBay’s Money Back Guarantee covers buyers for 30 days, so save all packaging materials and tracking for at least that long. eBay’s seller protections are strong when you have tracking and signature confirmation.
Amazon: FBA (Fulfillment by Amazon) handles everything for you at a per-unit fee. FBM (Fulfilled by Merchant) requires you to ship within the handling time you specify. Amazon’s A-to-Z Guarantee can override carrier claims, so do not rely solely on UPS or FedEx payouts.
Mercari: Mercari offers prepaid shipping labels through UPS and USPS. Shipping protection is built in, but you must use the prepaid label and provide adequate packaging to qualify. Save your receipts and photos as usual.
Communication best practices: Send a tracking number as soon as you ship. If the item is high value, message the buyer to confirm the shipping address. Clear, proactive communication prevents 80 percent of disputes before they start.
Frequently Asked Questions
How to ship something you sold online?
To ship something you sold online, prepare the device by wiping data and documenting its condition, pack it in an anti-static bag inside a double-walled corrugated box with at least two inches of cushioning on every side, then seal with the H-tape method. Choose a carrier based on value and battery type, add insurance and signature confirmation, and photograph the sealed package before handoff.
How do you ship electronics safely?
Ship electronics safely by placing the device in an anti-static bag, wrapping it in three to four layers of bubble wrap, and centering it in a properly sized corrugated box. Fill all voids with cushioning material so the device cannot shift, seal the box with the H-taping method, label with appropriate warnings, and add insurance plus signature confirmation for any package over $200 in value.
How much would it cost to ship an electronic?
Shipping a typical 3 to 5 pound electronic domestically costs between $10 and $25 with USPS Priority Mail, $15 to $30 with UPS Ground, and $18 to $35 with FedEx Home Delivery. Heavier or oversized items can cost significantly more. Adding insurance and signature confirmation typically adds $3 to $10 depending on declared value.
What is the safest way to ship high value items?
The safest way to ship high value items is to use double-boxing, where the item is packed inside one cushioned box that is then placed inside a larger box with additional cushioning between the two. Use ground-only shipping for electronics with lithium batteries, declare the full value, purchase third-party shipping insurance for items over $500, and require signature confirmation on delivery.
Who is responsible if a package is damaged in shipping?
The carrier is generally responsible for damage that occurs during transit if the package was properly packed and insured for its full value. However, carriers exclude damage caused by inadequate packaging, mechanical or electrical failure, and certain items like laptops and LCD screens in some declared value programs. Sellers bear the burden of proving the package was packed correctly, which is why pre-shipment photos are critical.
What is a claim for damage on shipped goods?
A claim for damage on shipped goods is a formal request to a carrier for reimbursement when a package arrives damaged or with missing contents. The claim process requires documentation including photos of the damage, the original packaging, proof of value, and a completed claim form filed within the carrier’s deadline. Approved claims typically pay out the declared value or repair cost, whichever is lower.
Are shipping companies liable for damages?
Shipping companies are liable for damages up to the declared value of the package, provided the item was packed adequately and the claim is filed within the required timeframe. All major carriers include $100 of liability coverage by default, with options to increase coverage through declared value or third-party insurance. Liability excludes items that were improperly packaged, items prohibited by the carrier, and certain electronics categories.
Can I file a claim for a damaged package?
Yes, you can file a claim for a damaged package through the carrier that shipped it. File online within the carrier’s deadline (60 days for USPS and FedEx, 9 months for UPS on new items). Submit photos of the damage, retain all packaging materials, include proof of value such as receipts or sale records, and follow up by phone if the claim stalls beyond five business days.
Final Thoughts on Shipping Electronics Safely
Shipping electronics you sold online does not have to be a gamble. The sellers who consistently avoid damage claims are the ones who treat packing as part of the product, not an afterthought. Spend the extra five minutes on documentation, the extra dollar on anti-static protection, and the extra three dollars on signature confirmation. Those small costs disappear into your margin. A single damaged $400 laptop does not.
Use the eight-step packing protocol every time. Photograph before, during, and after packing. Choose your carrier based on rules, not just price. Know the lithium battery requirements and follow them. And if something does go wrong, file your damage claim immediately with the documentation already in hand.
If you remember nothing else, remember this: how to safely ship electronics you sold online comes down to preparation, protection, and proof. Build the workflow once, repeat it on every shipment, and you will spend your time growing your business instead of chasing refund disputes.