
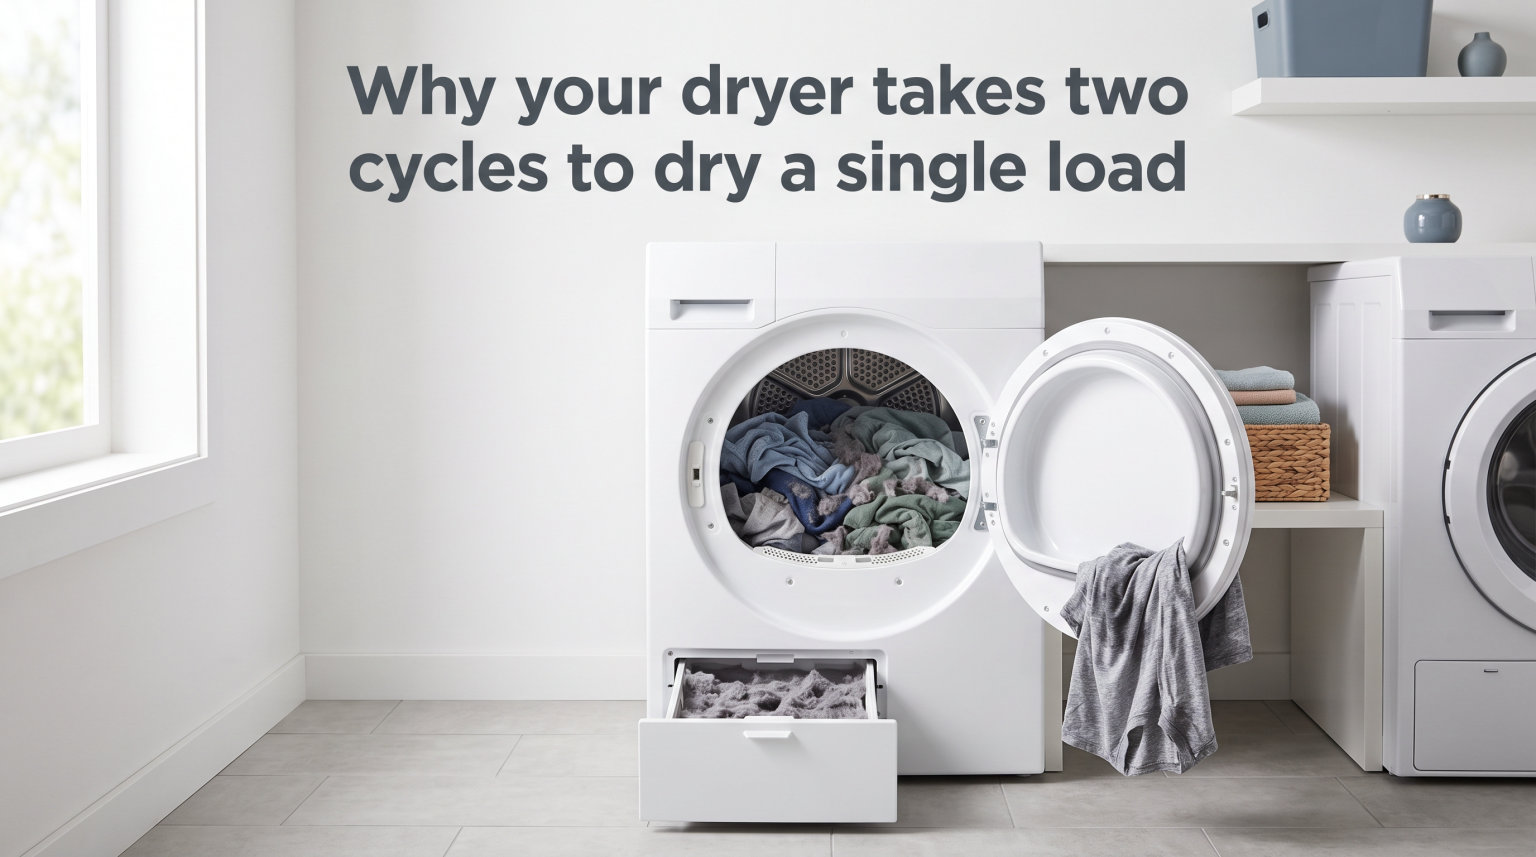
If your dryer takes two cycles to dry a single load, the most likely cause is restricted airflow from a clogged lint screen, blocked vent system, or crushed vent hose. In roughly 80% of cases, the problem traces back to airflow rather than a broken part. Less commonly, the issue is a failing heating element, a bad thermostat, or a faulty moisture sensor.
I have spent years helping homeowners troubleshoot this exact problem, and the pattern is remarkably consistent. A dryer that used to finish a load in 45 minutes now needs a second run just to get towels barely dry. The clothes come out warm but still damp.
Energy bills creep up month after month. And worst of all, lint buildup that causes this problem is also a leading fire hazard in homes.
The good news is that most causes are fixable without a service call. This guide walks through every reason your dryer takes two cycles to dry, how to diagnose which one is yours, and what to fix first. I will share specific diagnostic tips I have picked up from appliance repair forums, including the water test for lint screens and the Timed Dry vs Sensor Dry trick that tells you whether the problem is in your dryer or your vent line.
By the end, you will know exactly what to check, in what order, and when it makes sense to call a professional instead of chasing the problem yourself.
Table of Contents
Why Your Dryer Takes Two Cycles to Dry a Single Load: Common Causes
When a dryer needs two full cycles to get clothes dry, the machine is not producing enough heat, cannot move enough air through the drum, or both. Every cause below falls into one of those two categories. I have ranked them roughly in order of how often I see them in the field, starting with the most common.
Before you spend money on parts or a repair technician, work through this list from top to bottom. Most homeowners find their answer in the first three causes.
1. Clogged or Dirty Lint Screen
A clogged lint filter is the single most common reason a dryer takes two cycles to dry, and it is also the easiest to fix. The lint screen sits between the drum and the blower, and when it fills with lint, hot air cannot circulate through the clothes properly. The dryer runs, produces heat, but the moisture has nowhere to go.
Cleaning the screen after every load sounds obvious, but many people do not realize that an invisible film can coat the mesh over time. Dryer sheets and fabric softeners leave a waxy residue that builds up layer by layer. You cannot see it, but it blocks airflow just like visible lint does.
Here is a quick test I learned from appliance repair forums. Run the lint screen under a faucet, and if water beads up and rolls off instead of passing through the mesh, you have a residue problem. Scrub the screen with warm soapy water and a soft brush, rinse it clean, and let it dry completely before putting it back.
Do this deep clean once a month and you will likely notice an immediate improvement in drying speed. This one fix alone resolves the problem for many homeowners.
2. Blocked or Restricted Dryer Vent
A blocked dryer vent is the second most common culprit, and it is more serious because the blockage can be hidden deep inside the wall. Lint gradually accumulates in the vent ducting that runs from the back of your dryer to the outside wall. Over months and years, it builds up until the pipe is narrowed or completely sealed.
Restricted airflow from a blocked vent means moisture-laden air stays trapped inside the drum. The dryer heats up, clothes get warm, but the wet air has nowhere to escape. The result is exactly what you are experiencing: a full cycle that leaves clothes still damp.
Multiple Reddit users in the appliancerepair and fixit communities report going through two or three replacement dryers before discovering the vent was the problem all along. The dryer was fine, and the vent had been slowly clogging for years.
Signs of a blocked vent include clothes that are hot but still damp at the end of a cycle, a laundry room that feels humid or smells musty, and the outside vent flap that barely opens when the dryer is running. You may also notice the top of your dryer getting unusually hot to the touch.
If your vent runs through a long stretch of wall or ceiling, the clog could be anywhere along that path. A professional vent cleaning service typically costs between $100 and $200 and uses a rotating brush attached to flexible rods to clear the entire length. You can also buy a DIY vent cleaning kit for around $30 to $50 if you are comfortable doing it yourself.
3. Kinked or Crushed Vent Hose Behind the Dryer
The flexible vent hose that connects your dryer to the wall can get crushed or kinked, especially if the dryer was pushed too close to the wall. This creates a bottleneck that chokes off airflow even when the rest of the vent system is clean.
Pull your dryer out from the wall and inspect the hose carefully. Look for sharp bends, flat spots where the hose has been compressed, or sections that have collapsed entirely. The hose should have a smooth, gradual curve with no sharp angles.
The type of hose matters too. White vinyl spiral hoses are cheap but crush easily and are actually banned by most building codes for dryer use. Foil accordion-style hoses are better but still prone to kinking. The best option is rigid or semi-rigid aluminum ducting, which maintains its shape and provides the smoothest airflow path.
If you find a crushed hose, replace it with a semi-rigid metal duct. Keep the run as short and straight as possible, and leave enough space behind the dryer so it does not get pinched again when you push it back.
4. Overloading the Dryer Drum
Stuffing too many clothes into the dryer is a simple but frequent cause of extended drying times. When the drum is packed full, clothes cannot tumble freely. They form a dense mass that traps moisture inside, and hot air cannot reach the layers in the middle of the load.
The drum should be no more than two-thirds full for a normal load. For bulky items like comforters, sleeping bags, or heavy towels, fill it only halfway. These dense fabrics hold a lot of water and need plenty of room to fluff and separate as they tumble.
I see this problem most often with families who try to save time by combining two washer loads into one dryer load. It feels efficient, but it actually takes longer because the dryer has to work harder and still needs a second cycle. Two properly sized loads will dry faster and more thoroughly than one overloaded batch.
If you are drying thick items like jeans, hoodies, or bath towels, try adding a couple of clean dry towels to the load. They help absorb excess moisture and create air pockets that improve circulation.
5. Failing Heating Element
If your dryer runs but produces weak or no heat, the heating element may be failing. Electric dryers use a coiled wire element that glows red hot to warm the air. Over time, the coil can break, burn out, or develop a bad connection, reducing the amount of heat the dryer can generate.
A dryer with a partially failed element might still get warm, but not hot enough to dry efficiently in one cycle. You will notice the dryer feels only lukewarm inside, and clothes take far longer than they used to.
For gas dryers, the equivalent component is the gas burner assembly. Igniter failure, faulty gas valve coils, or a bad flame sensor can all cause the same weak-heat symptom. The dryer tumbles but does not maintain consistent heat.
Testing a heating element requires a multimeter and basic comfort with appliance repair. You unplug the dryer, access the element (usually behind the lower front or rear panel), and check for continuity. A healthy element reads low resistance, typically between 10 and 50 ohms depending on the model.
A broken element shows no continuity, meaning the circuit is open and the element needs replacing. If you are not comfortable working with electrical components, this is a good time to call a professional. Heating element replacements typically run between $100 and $300 including parts and labor.
6. Faulty Thermostat or Thermistor
Dryers use thermostats and thermistors to regulate drum temperature. A cycling thermostat tells the heating element when to turn on and off. A high-limit thermostat shuts off heat as a safety measure if the dryer gets too hot. If either one fails, the dryer may not heat properly, leading to extended drying times.
A thermistor is a temperature-sensitive resistor found in many modern dryers. It sends temperature readings to the control board, which adjusts the heat accordingly. A bad thermistor can give inaccurate readings, causing the control board to cycle the heat incorrectly or not at all.
Here is a technical detail I picked up from the appliancerepair subreddit. A thermistor at room temperature, around 70 degrees Fahrenheit, should read approximately 12,000 ohms on a multimeter. If your reading is significantly off, the thermistor is likely bad.
One tricky thing about thermal switches: some can test fine with a multimeter, showing zero ohms as expected for a closed circuit, but still fail under actual operating conditions. Forum users report replacing thermostats that tested good on the bench but fixed the problem once installed. If every other cause has been ruled out, replacing the cycling thermostat is a relatively inexpensive gamble.
Thermostats typically cost $15 to $40, while thermistors run $20 to $60. Both are accessible components that a handy homeowner can replace with basic tools.
7. Inefficient Washer Spin Cycle
Here is a cause most guides miss entirely. If your washing machine is not spinning clothes out properly, your dryer starts at a disadvantage. Clothes entering the dryer with excess water take far longer to dry, no matter how well the dryer is working.
Check whether your washer’s spin cycle is performing correctly. Modern washers should extract most of the water, leaving clothes damp but not dripping wet. If you pull a load from the washer and it is visibly soaking or dripping, the problem is upstream of your dryer.
Common washer issues include an unbalanced load that prevents full spin speed, a worn drive belt that cannot reach high RPM, or a faulty drain pump that leaves standing water in the drum. Fixing the washer might be the only repair you actually need.
A simple way to test this: weigh a freshly washed load of towels before and after the spin cycle. If they weigh significantly more than dry, the spin cycle is underperforming. Your dryer is working overtime to compensate.
8. Dryer Sheet and Fabric Softener Residue
Dryer sheets do more than add fragrance. They coat fabrics with a thin layer of softening chemicals, and over time, that same coating builds up on the lint screen mesh. This invisible film is different from regular lint because you cannot see it or brush it off.
The residue gradually narrows the openings in the mesh, reducing the amount of air that can pass through. The effect is the same as a clogged lint screen, but because the screen looks clean, most people never suspect it.
This is where the water test I mentioned earlier becomes essential. Hold your clean-looking lint screen under running water, and if water pools on top instead of flowing through, the mesh is coated. Wash it with dish soap and a nylon brush to strip away the waxy buildup.
If you use dryer sheets regularly, plan to do this deep clean every two to four weeks. Switching to fragrance-free sheets or wool dryer balls can reduce the buildup significantly.
9. Moisture Sensor Problems and Incorrect Settings
Modern dryers use moisture sensors to detect when clothes are dry and automatically end the cycle. Two metal strips inside the drum, usually near the lint filter opening, measure electrical conductivity. Wet clothes conduct electricity between the strips, and when conductivity drops, the dryer knows the load is dry.
If these sensor strips get coated with fabric softener residue or lint, they give false readings. The dryer thinks clothes are dry before they actually are and shuts off prematurely. The result is a load that comes out still damp.
Clean the sensor strips by wiping them with rubbing alcohol on a cotton cloth. This removes the invisible film that throws off readings. Do this every few weeks if you use dryer sheets.
Also check your cycle settings. Sensor Dry modes rely on those moisture strips, while Timed Dry runs for a fixed duration regardless of moisture. Here is a diagnostic trick worth its weight in gold: run a load on Timed Dry at high heat for 60 minutes. If clothes come out fully dry, your dryer and vent are working fine, and the problem is your moisture sensor. If clothes are still damp after a full Timed Dry cycle, you have an airflow or heating problem.
How to Fix a Dryer That Takes Too Long to Dry?
Now that you know the possible causes, here is a systematic approach to fixing the problem. Work through these steps in order, starting with the easiest and cheapest fixes.
Step 1: Clean the Lint Screen Thoroughly
Remove the lint screen and brush off all visible lint. Then run it under water to check for invisible film. If water beads up, scrub with dish soap and a soft brush, rinse, and dry completely before reinstalling. This takes five minutes and fixes the problem for many people.
Step 2: Pull Out the Dryer and Inspect the Vent Hose
Unplug the dryer and pull it away from the wall. Check the vent hose for kinks, crushes, or disconnections. Replace any damaged hose with a semi-rigid metal duct. Make sure the connection points are secure with clamps. This step takes about 15 minutes and costs under $20 for a new hose.
Step 3: Clean the Dryer Vent Ducting
Disconnect the vent hose from both the dryer and the wall. Use a vent cleaning brush kit to push through the ducting and pull out accumulated lint. Work from both ends if possible. If the duct runs through a long wall cavity or you cannot reach the blockage, hire a professional vent cleaning service.
Step 4: Run the Timed Dry Diagnostic Test
Reconnect everything, plug the dryer in, and run a medium-size load on Timed Dry at high heat for 60 minutes. Check the results. If clothes come out fully dry, your dryer and vent are working, and the problem is likely a dirty moisture sensor or wrong cycle setting. If clothes are still damp, move to Step 5.
Step 5: Check the Heating Element and Components
Unplug the dryer and use a multimeter to test the heating element, cycling thermostat, high-limit thermostat, and thermistor. Look up the expected resistance values for your specific model. Replace any component that fails the test. If you are not comfortable with electrical testing, this is where a professional technician earns their fee.
Step 6: Verify Your Washer Spin Cycle
If the dryer and vent are confirmed working, check whether your washer is the real culprit. Run a spin-only cycle and check if clothes are excessively wet. An underperforming spin cycle means your dryer has to work twice as hard from the start.
Step 7: Replace the Moisture Sensor Strips
If the Timed Dry test passes but Sensor Dry does not, clean the sensor strips with rubbing alcohol. If cleaning does not fix it, the sensor may need replacement. Sensor strips are inexpensive parts, usually $15 to $30, and are easy to swap out.
When to Call a Professional
You can handle most of the causes on this list yourself, but some situations call for a professional. If you have cleaned the lint screen, cleared the vent, replaced the hose, and tested the heating components without improvement, a technician can diagnose issues that require specialized equipment or experience.
Call a professional if your vent runs through a long wall cavity you cannot access, if you are uncomfortable working with electrical components, or if you have a gas dryer and suspect a burner problem. Gas appliance repair should always be left to someone qualified to handle gas lines safely.
Typical repair costs range from $100 to $300 for common fixes like heating element or thermostat replacement. Vent cleaning services usually charge $100 to $200. If your dryer is more than 10 years old and the repair estimate exceeds $300, replacing the dryer may be the better financial choice.
One important note from forum discussions: some homeowners replaced their dryer, only to find the new one had the same problem. If you have not verified that your vent is clear, do not assume the dryer is the issue. Always check the vent first, even with a brand new machine.
Prevention Tips to Keep Your Dryer Running Efficiently
Once you have fixed the problem, a few simple habits will keep your dryer drying in a single cycle for years to come. Clean the lint screen after every single load, no exceptions. Deep clean it with soap monthly to remove invisible residue.
Have your dryer vent professionally cleaned once a year if you have a long vent run, or every two years for shorter setups. Never overload the drum, and separate heavy items like towels and bedding into smaller loads. Use the correct heat setting for each fabric type.
If you use dryer sheets, wipe the moisture sensor strips with rubbing alcohol every few weeks. Consider switching to wool dryer balls, which soften clothes without leaving residue on your lint screen or sensor strips.
Finally, keep the area around your dryer clear. Do not store items on top that could block airflow, and make sure the dryer has room to breathe on all sides. Proper clearance helps the machine dissipate heat efficiently.
FAQs
Why does my dryer take 2 hours to dry a load?
A dryer that takes 2 hours or more usually has restricted airflow from a clogged lint screen, blocked vent, or crushed vent hose. Less commonly, a failing heating element or faulty thermostat is reducing the heat output. Start by cleaning the lint screen and checking the vent hose for kinks, then run a Timed Dry test to isolate the problem.
Why does my dryer need two cycles to dry?
When a dryer needs two cycles to dry clothes, restricted airflow is the most common cause. Lint buildup in the screen or vent system traps moist air inside the drum, preventing clothes from drying fully. In about 80% of cases, the fix involves cleaning rather than replacing parts.
How long should a dryer take to dry a normal load of clothes?
A normal load of clothes should dry in 30 to 45 minutes on a standard heat setting. Heavy loads like towels or bedding may take 60 to 75 minutes. If your dryer consistently needs more than 60 minutes for regular loads, something is restricting airflow or reducing heat output.
How to fix a dryer that takes too long to dry?
Start by cleaning the lint screen thoroughly, including washing off any invisible residue. Next, pull the dryer out and check the vent hose for kinks or crushes. Clean the full vent ducting from the dryer to the outside wall. If those steps do not help, test the heating element, thermostat, and thermistor with a multimeter, and clean the moisture sensor strips with rubbing alcohol.
Why are my clothes still wet after multiple dryer cycles?
Clothes that stay wet after multiple cycles indicate a serious airflow restriction or heating failure. The most likely causes are a severely blocked vent, a crushed hose, or a completely failed heating element. Check the vent system first, since even a new dryer will struggle if the vent is clogged. Run a Timed Dry test at high heat for 60 minutes to determine if the problem is the dryer or the vent.
Is it normal for a dryer to take two cycles to dry?
No, a properly functioning dryer should dry a normal load in one cycle. If your dryer needs two cycles, there is a fixable problem. In the vast majority of cases, the cause is a clogged lint screen, blocked vent, or overloaded drum, all of which you can address yourself without a service call.
The Bottom Line on Double-Cycle Drying
If your dryer takes two cycles to dry a single load, do not assume the machine is broken. In most cases, the fix is as simple as cleaning the lint screen, clearing the vent, or replacing a crushed hose. Start with the cheapest and easiest fixes, and you will likely solve the problem without spending more than $30.
The diagnostic approach matters. Use the Timed Dry test to isolate whether the issue is airflow and heat, or just a faulty moisture sensor. Check your washer’s spin cycle if everything else looks fine. And always verify the vent system before replacing the dryer, because a clogged vent will affect any machine, old or new.
Addressing this problem quickly saves money on energy bills, extends the life of your clothes, and most importantly, reduces a serious fire risk from lint accumulation. A dryer that works as it should is safer, cheaper to run, and far less frustrating on laundry day.